Categories
Family Woodworking

Pinewood Derby Cars

The boy’s Pinewood Derby race is coming up in a couple of weeks. The pack supplies a kit for the boy since he’s a Scout; we purchased a second kit for the lass since we figured she would want in on the fun as well. This week they both decided it was high time that their cars got done. Neither of them is capable of handling a saw, and it sure would be a shame to let the equipment in the garage go to waste. So I had myself a little woodworking project.

Still, I wanted the projects to be as much theirs as possible. Towards that end I had them each select the style of their car. I simplified the process by doing a quick search and then taking them to Maximum Velocity. The lass chose the Sports Car, which is the hot pink one under Car Plan 4. The boy chose the Formula One car under Car Plan 3. No commentary regarding their selections.

After the jump are some pictures to show how they came out.

Categories
Misc Woodworking

Post and Ye Shall Receive

I posted this a few days ago.

Today, look what shows up:

I wonder what else this works with?

Categories
Woodworking

Nice Looking Planes

Oooooh!

Ahhhhh!

WOW!

Categories
Armoire Woodworking

Hardware In

The handles we chose for the armoire are in earlier than expected. That will mean the end of construction of the lower half. The Wife wants to paint the bedroom before putting it in the room. It’ll be nice to put it in its final resting place.

I already have the upper half figured out in my mind, just a matter of dimensioning everything. Perhaps tonight.

Categories
Woodworking

Armoire Pictures

Here we go. There’s a couple more after the jump. I’m probably still going to put another layer or two on all the cherry surfaces.

Categories
Armoire Woodworking

Another armoire update

No pictures yet- I actually started the finishing last night. First coat is done. I’m using Waterlox and applying by rubbing it on with a cloth. The results are quite nice. I’ll post pix after application of the second coat.

Categories
Armoire Woodworking

Stage 1 Complete

Well- mostly. I finished construction of the bottom half of the armoire today. I also cleaned up all the surfaces in prepartion for applying the finish. The dovetails came out very well after cleaning them up. I added some chamfers to the legs as well as all the corners and egdes that could have given someone a nice zinger. That’s one of the things about maple and cherry- they hold corners to well. Those suckers can be sharp when all is said and done.

Looking forward, it’s arguable I’m over halfway done. I have some details to figure out for the top- but still, I don’t have anymore drawers to make. Just 2 large doors to make. There’ll be some shelving too… maybe a hidden drawer… hmmm…. Maybe not so halfway after all.

I’ll post some pix tomorrow.

Categories
Armoire Woodworking

Top Results

The top for the armoire ended up with slightly mixed results. Pictures are after the jump, but the quick and dirty version is the mitres came out very well, but the edge joinery ended up being off a little. In the end, I think my assembly procedure was in error.

Categories
Armoire Woodworking

Armoire Blogging

drawer-fronts.JPG

That’s the current state of the armoire. All the drawers completed. Well, except for the cleanup portion of that program. I’ll have to trim all the corners flush as well as scrape the fronts. But for now, I’ve moved on to other elements of construction. The top to be specific. Not the top-top, the bottom-top. You know, the part that goes over the top drawer?

Categories
Armoire Woodworking

Armoire Dovetailing

Here are some pictures of the dovetailing on the second drawer:

Categories
Armoire Woodworking

Armoire Drawers

I finished the second drawer this weekend and I’ve got a good start on the third one. The second drawer is far superior to the first one. I’m aiming to make the 3rd drawer the best of the three.

I’ve got some pics and a more elaborate writeup coming, just not tonight. It’s getting late and I need some time to put the post together.

Categories
Armoire Woodworking

One Down, Two to Go

I finally finished the first drawer. No pictures. I’m a little disappointed with how it turned out. The tails aren’t as tight as I wanted, plus when I clamped everything together I didn’t seat the pieces entirely. In the past I had overclamped drawers, I didn’t want to repeat that mistake here. The result was that the tail boards didn’t seat flush with the pin boards.

Categories
Armoire Woodworking

Armoire Status Update

I spent the weekend working on one of the drawers for the armoire. It’s not done yet- I have to mill the pins for the half-blinds to finish up the dovetailing. Followed by cutting the grooves for the drawer bottom, installing the cleat and drawerslide clips, and cutting the two recesses in the drawer back that the drawerslides ride in.

When I actually sit and consider everything that needs to be done to make a drawer for this thing, I realize just how unrealistic my timeframe was for building them. I’d hoped I could build a drawer in a day or so. After roughly 12 hours, I’m still working on the dovetailing. Plus, I’ve got 2 more drawers after this.

Oy.

Categories
Armoire Woodworking

That’s Another Story… Stick

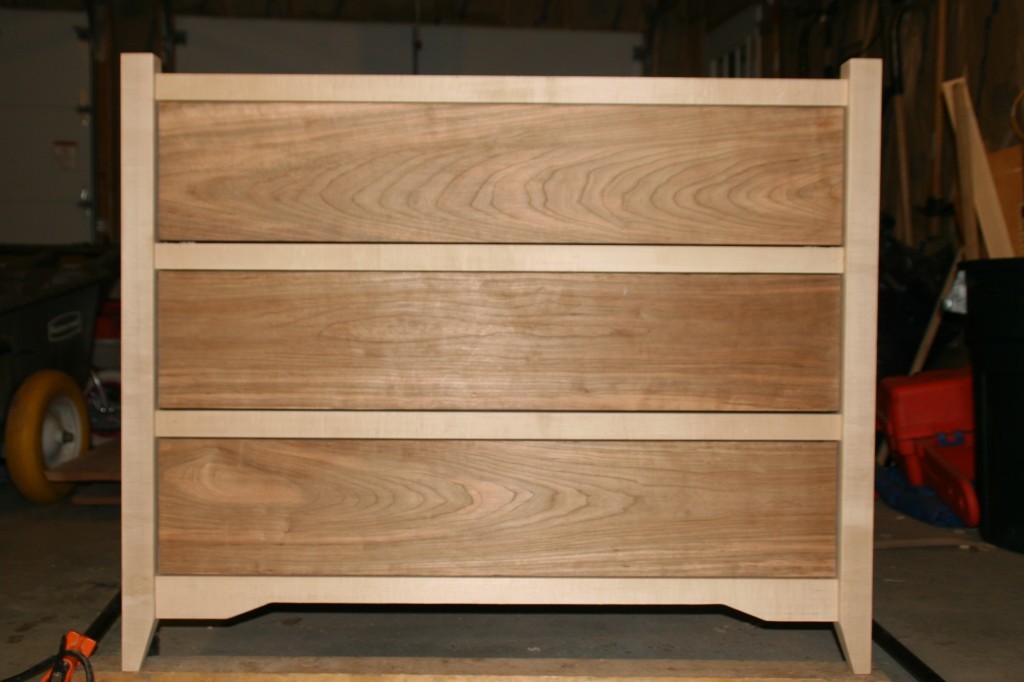
Even though I immensely enjoy the end result and the sense of accomplishment that comes with well executed, hand cut dovetails there are parts of the process that are a drag. In my case, the most tedious part is also arguably the most important part of the whole process: the layout.

When I first started I marked, by hand, the depth line as well as each point of the tails and then draw the line using a ruler. Then I picked up a template which gives me a couple of angles to choose from for the tails. With the template, I only have to make tick marks along the tail-depth line, lineup the template and mark my line. So it reduced the amount of marking by half.

Most recently I received my marking gauge- now marking the depth line is a breeze. Just set it and draw it across all four sides of the board on each end. Between the template and the gauge, my marking time dropped dramatically.

After marking the first side up completely for the tail layout, I realized that I could streamline the process for the remaining boards by using a story stick. I fashioned one up as a ‘T’ so that I had a constant reference for making the marks on the board. I then trasferred the marks from my first completed side to the storystick using my marking knife. From there, it was a simple matter of methodically trasferring the storystick marks to the remaining boards, then using the template to mark the tails.

The other benefit I gained was consistency. By transferring the layout to the storystick, I greatly reduced my opportunity for layout error. I also eliminated a lot of the minor variations that would have otherwise cropped up while re-measuring the layout for each board.

Lastly, I marked up all 6 boards, both ends, in about an hour. As a sanity check I lined up all 6 boards and eyeballed the marks to see how the registered with one another. They all lined up perfectly. Can’t argue with results like that.

Categories
Armoire Woodworking

Armoire Assembly

I’d been meaning to write this up for a couple of weeks but a number of things have conspired to keep me from it. I finally assembled the portion of the armoire that I’ve been working on lo these many months. If curious, there’s a picture of it after the jump. Go ahead, I can wait…

Categories
Armoire Woodworking

Using Blum Drawer Slides

When my armoire project was still in the planning stages, I knew that it would have drawers. I just hadn’t settled on the size of the drawers. As luck would have it I found some exceptionally nice looking cherry boards that were planed on both sides and still close to a full 4/4 thick and a little over 8″ wide. It didn’t take me long to decide to use those boards as the drawer fronts. They also solved my drawer sizing problems. I planned to make the drawer’s a full 8″ deep, thus using as much of the boards as possible.

Because I haven’t had enough experience making drawer runners, or slides, using all wood I decided to go with the Blum slides. Everything I read about them indicated they were top notch. The only drawback I came across was that the drawers had to be made to fairly rigourous specifications in order to work with the slides.

I really underestimated the meaning of ‘rigorous specifications.’

Categories
Armoire Woodworking

Add a Little Glue

Finally, today, a little gluing. A lot of milling and fitting and cutting and thinking has gone into this thing thus far. It’s funny, when asked about it I usually reply “It’s not that complicated, all it I’m doing is building boxes.” Well, taking a look at all the mortises in the posts and the tenons on the stretchers and the extra milling to tenons to get everything to fit together properly, it’s clear that it’s a little more than building boxes.

At this point, pictures are more clear than words, so here we go.

Categories
Armoire Woodworking

The Drawer Slides

I didn’t get a chance to mention, but the Blum drawer slides have arrived. Holy moly, they are HEAVY. I pulled them out and now I can understand why they’re rated for 100 pounds.

The down side of their sturdiness is that they take up a lot of room. The upshot is that I’m going to lose at least an inch of space on inside height of the drawers because of the size of the slides. Normally, for drawers of the size I’ll be making for the armoire, I’d leave about 3/8″ to support the drawer bottom. With the slide size, I’ll have to leave considereably more so the slides can fit on the bottom of the drawer.

It’s a bit of a bummer because I had originally thought the drawers would be a little oversized compared to what I’ve seen for similarly designed armoires. That extra space is going to be used up accomodating the slides.

The good news is that I can definitely get some assembly done now. I’ll post pics when I can.

Categories
Armoire Woodworking

Armoire Update

Having decided on and ordered the drawer slides, I had hoped I would finally be in position to get some gluing done. No such luck. I did finish the supports for the drawer slides which now leaves the drawers and the top as the main items left to works on. The reason I didn’t get any of the glue-up done is that I couldn’t get the material I wanted for the drawer separators and back.

Categories
Armoire Woodworking

Visible Progress

img_1940

All right, here’s a shot of what’s been accomplished so far. Nothing is glued up here, everything is just dry fit. I still have to mill dado’s for the rear panel and I also have to put a taper on the adjacent inner sides of each of the posts. That will all be easier to do if it isn’t glued up. I’ll also put a fairly wide chamfer on the front corners of the posts. Again, easier to do if everything isn’t assembled. Mainly it’s assembled to make sure the panels don’t warp.