Finally, today, a little gluing. A lot of milling and fitting and cutting and thinking has gone into this thing thus far. It’s funny, when asked about it I usually reply “It’s not that complicated, all it I’m doing is building boxes.” Well, taking a look at all the mortises in the posts and the tenons on the stretchers and the extra milling to tenons to get everything to fit together properly, it’s clear that it’s a little more than building boxes.
At this point, pictures are more clear than words, so here we go.
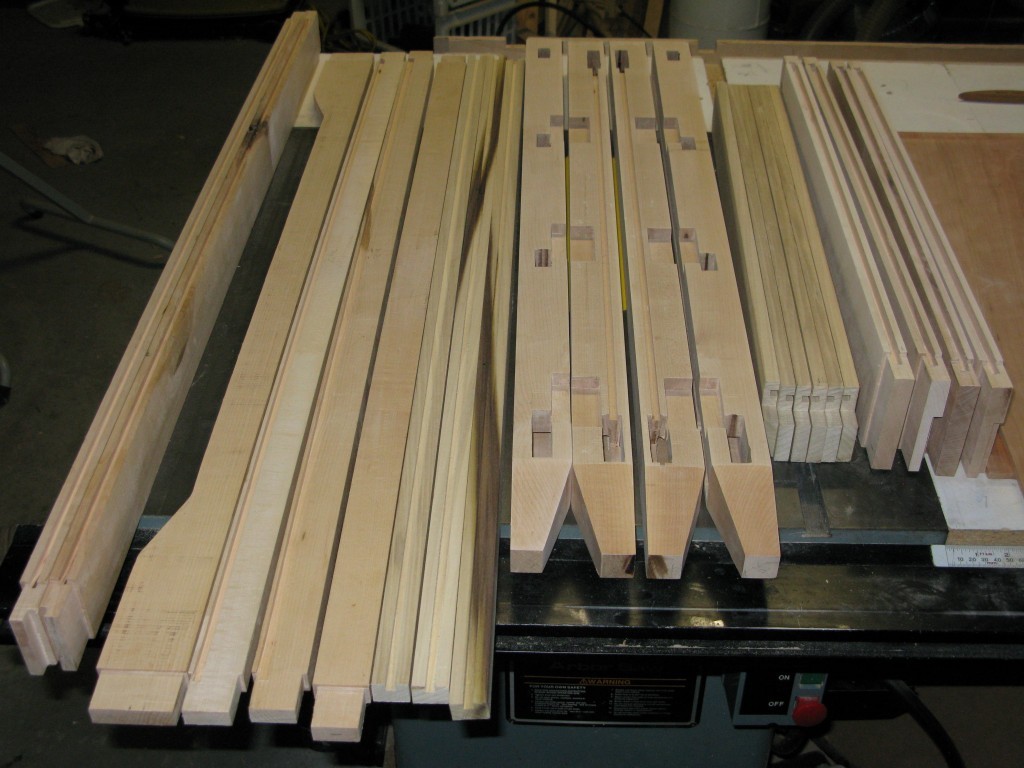
First, the posts, stretchers, drawer-slide supports and drawer-separator supports:
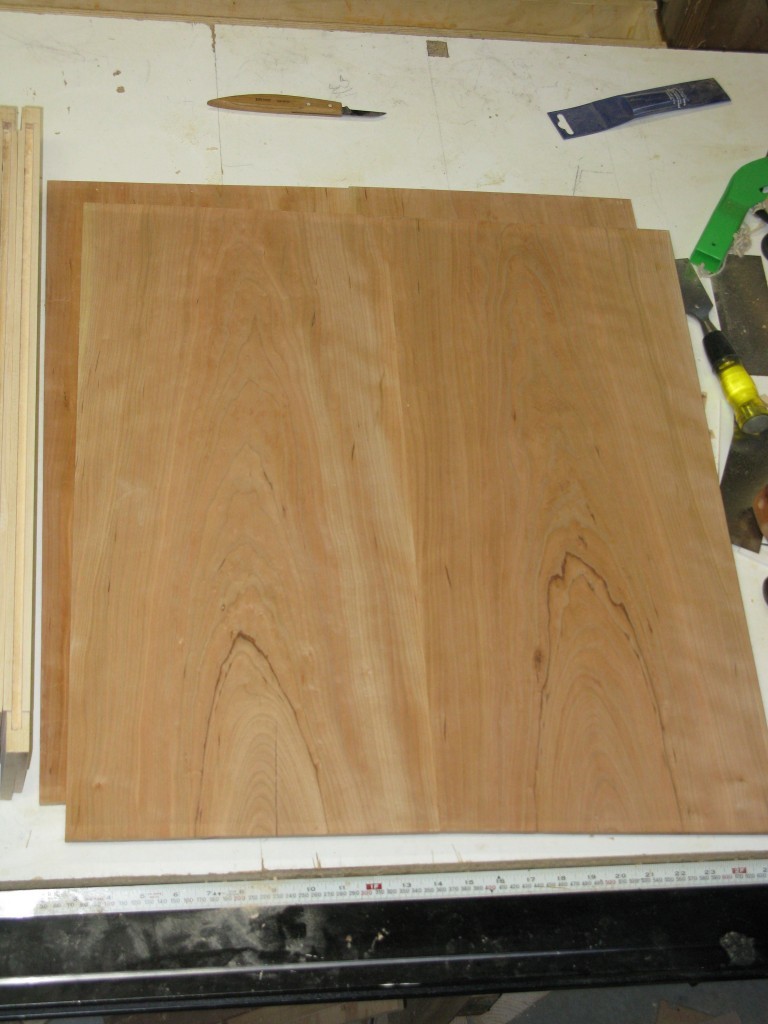
Here are the bookmatched-cherry panels:
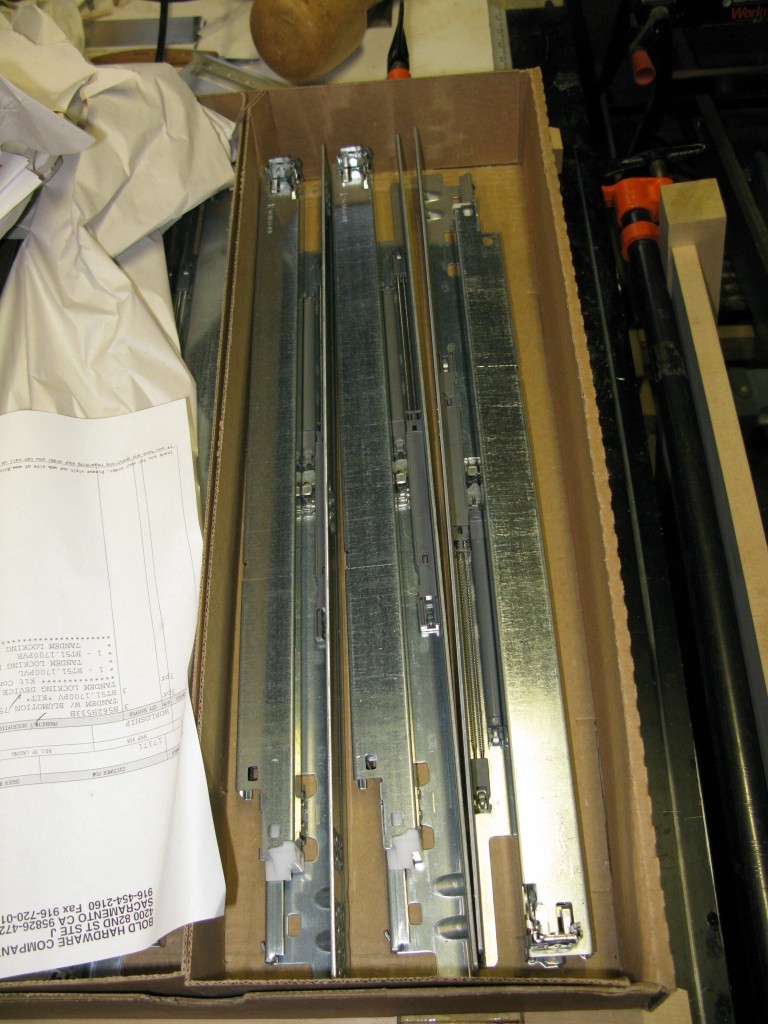
Just for fun, here’s picture of the Blum drawer-slides. They are pretty sturdy:
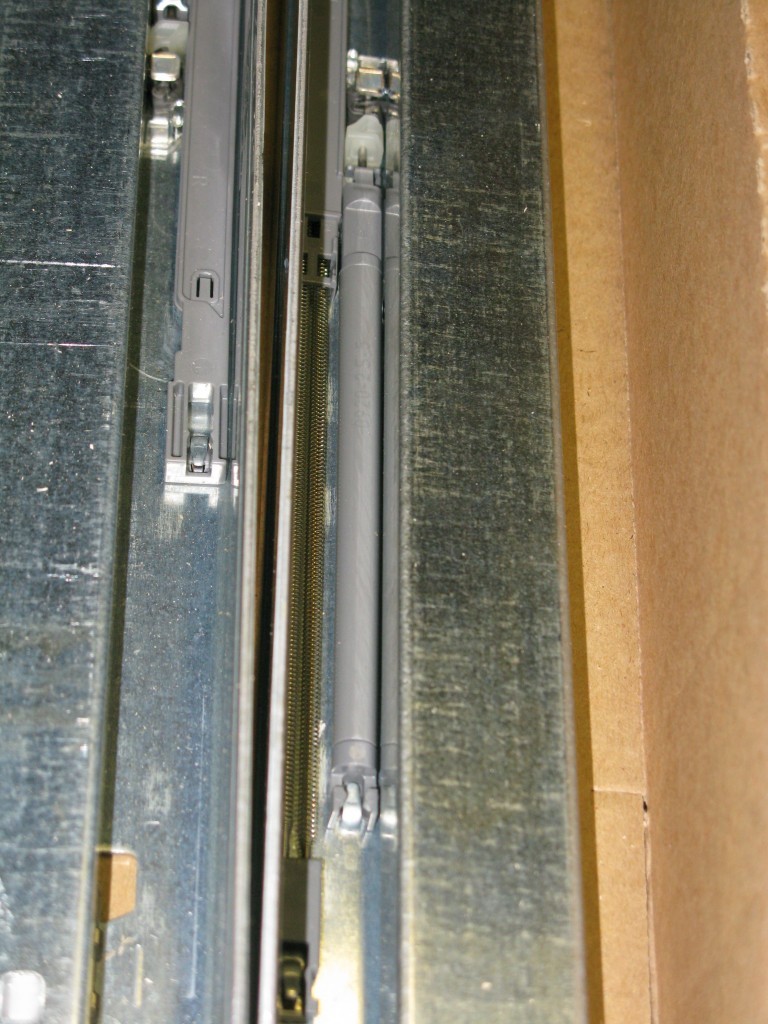
Here’s a close-up of their nifty “Blumotion” mechanism (a soft close that prevents the drawer from being slammed shut):
Finally, here’s a shot of one of the sides after I removed the clamps:
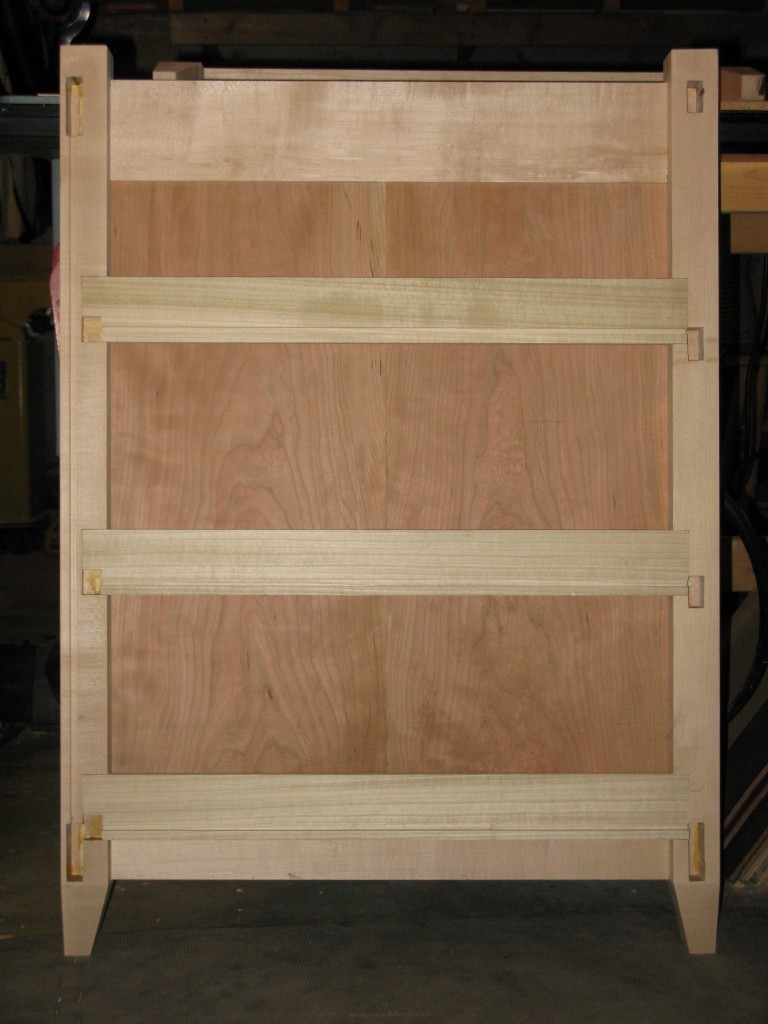
It’s impossible to see in the picture, but the panels didn’t join up as well as I’d like. I tried everything I could think of to get the two edges to mate up like I wanted; but I just couldn’t get it done to my complete satisfaction. I had to stop for fear of reducing the panel width too much so that it wouldn’t fit in the opening properly. I used my hand planes as well as the jointer to no avail.(Yes, I did joint the edge of one board with the outside face against the fence and the mating edge of the second board with the inside face against the fence.) I always ended up with a little bit of snipe at the end of the boards.
I actually glued up the panels two nights ago because I didn’t want to take a chance with glue from the panel joint getting into the frame. I was able to clean up the glue from the joint yesterday as well as scrape the show side of the panel. I sanded the inner side of the panel today as I prepared for the glue up. I also trimmed the length of one of the panels because I didn’t line up the ends properly on the glueup and the little bit of extra length caused that side to rack. No big deal- at least I caught prior to assembly.
The other prep work done today was to put the taper on the ends of the posts and sand all the show surfaces. The tapers worked out well. The taper layout was straightforward: a mark at the bottom of the post 1″ from the outside corner, then a mark at 3″ up the inside edge of the post. I used the bandsaw to remove the majority of the material and finished them up on the jointer. All the tapers are on the correct sides of the posts (the two adjoing inner faces). Trivial as that sounds, it isn’t always easy to get them right.
After I had assembled the panel, I glued in the drawerslide supports. I was originally going to clamp them in place as well, but the fit was good enough that I opted to seat them properly and then leave them be,
The finished result is pretty satisfactory. Both sides are almost perfectly square. When laid on top of each other, the edges lineup very nicely as well. No complaints about that. No gaps between the stretchers and the posts at the tenon joints either- again, seemingly trivial but fiendishly difficult to achieve.
The next step will be joining the sides using the front and rear stretchers. That should be fun. I’ve only got to manage 6 stretchers, 1 back panel, and 3 drawer separators. The panel and separators all fit into dadoes. I’ll have to see if I can work a partridge and a pear tree in there as well.
One reply on “Add a Little Glue”
…the challenge of the craft is the final assembly …