The boy’s Pinewood Derby race is coming up in a couple of weeks. The pack supplies a kit for the boy since he’s a Scout; we purchased a second kit for the lass since we figured she would want in on the fun as well. This week they both decided it was high time that their cars got done. Neither of them is capable of handling a saw, and it sure would be a shame to let the equipment in the garage go to waste. So I had myself a little woodworking project.
Still, I wanted the projects to be as much theirs as possible. Towards that end I had them each select the style of their car. I simplified the process by doing a quick search and then taking them to Maximum Velocity. The lass chose the Sports Car, which is the hot pink one under Car Plan 4. The boy chose the Formula One car under Car Plan 3. No commentary regarding their selections.
After the jump are some pictures to show how they came out.
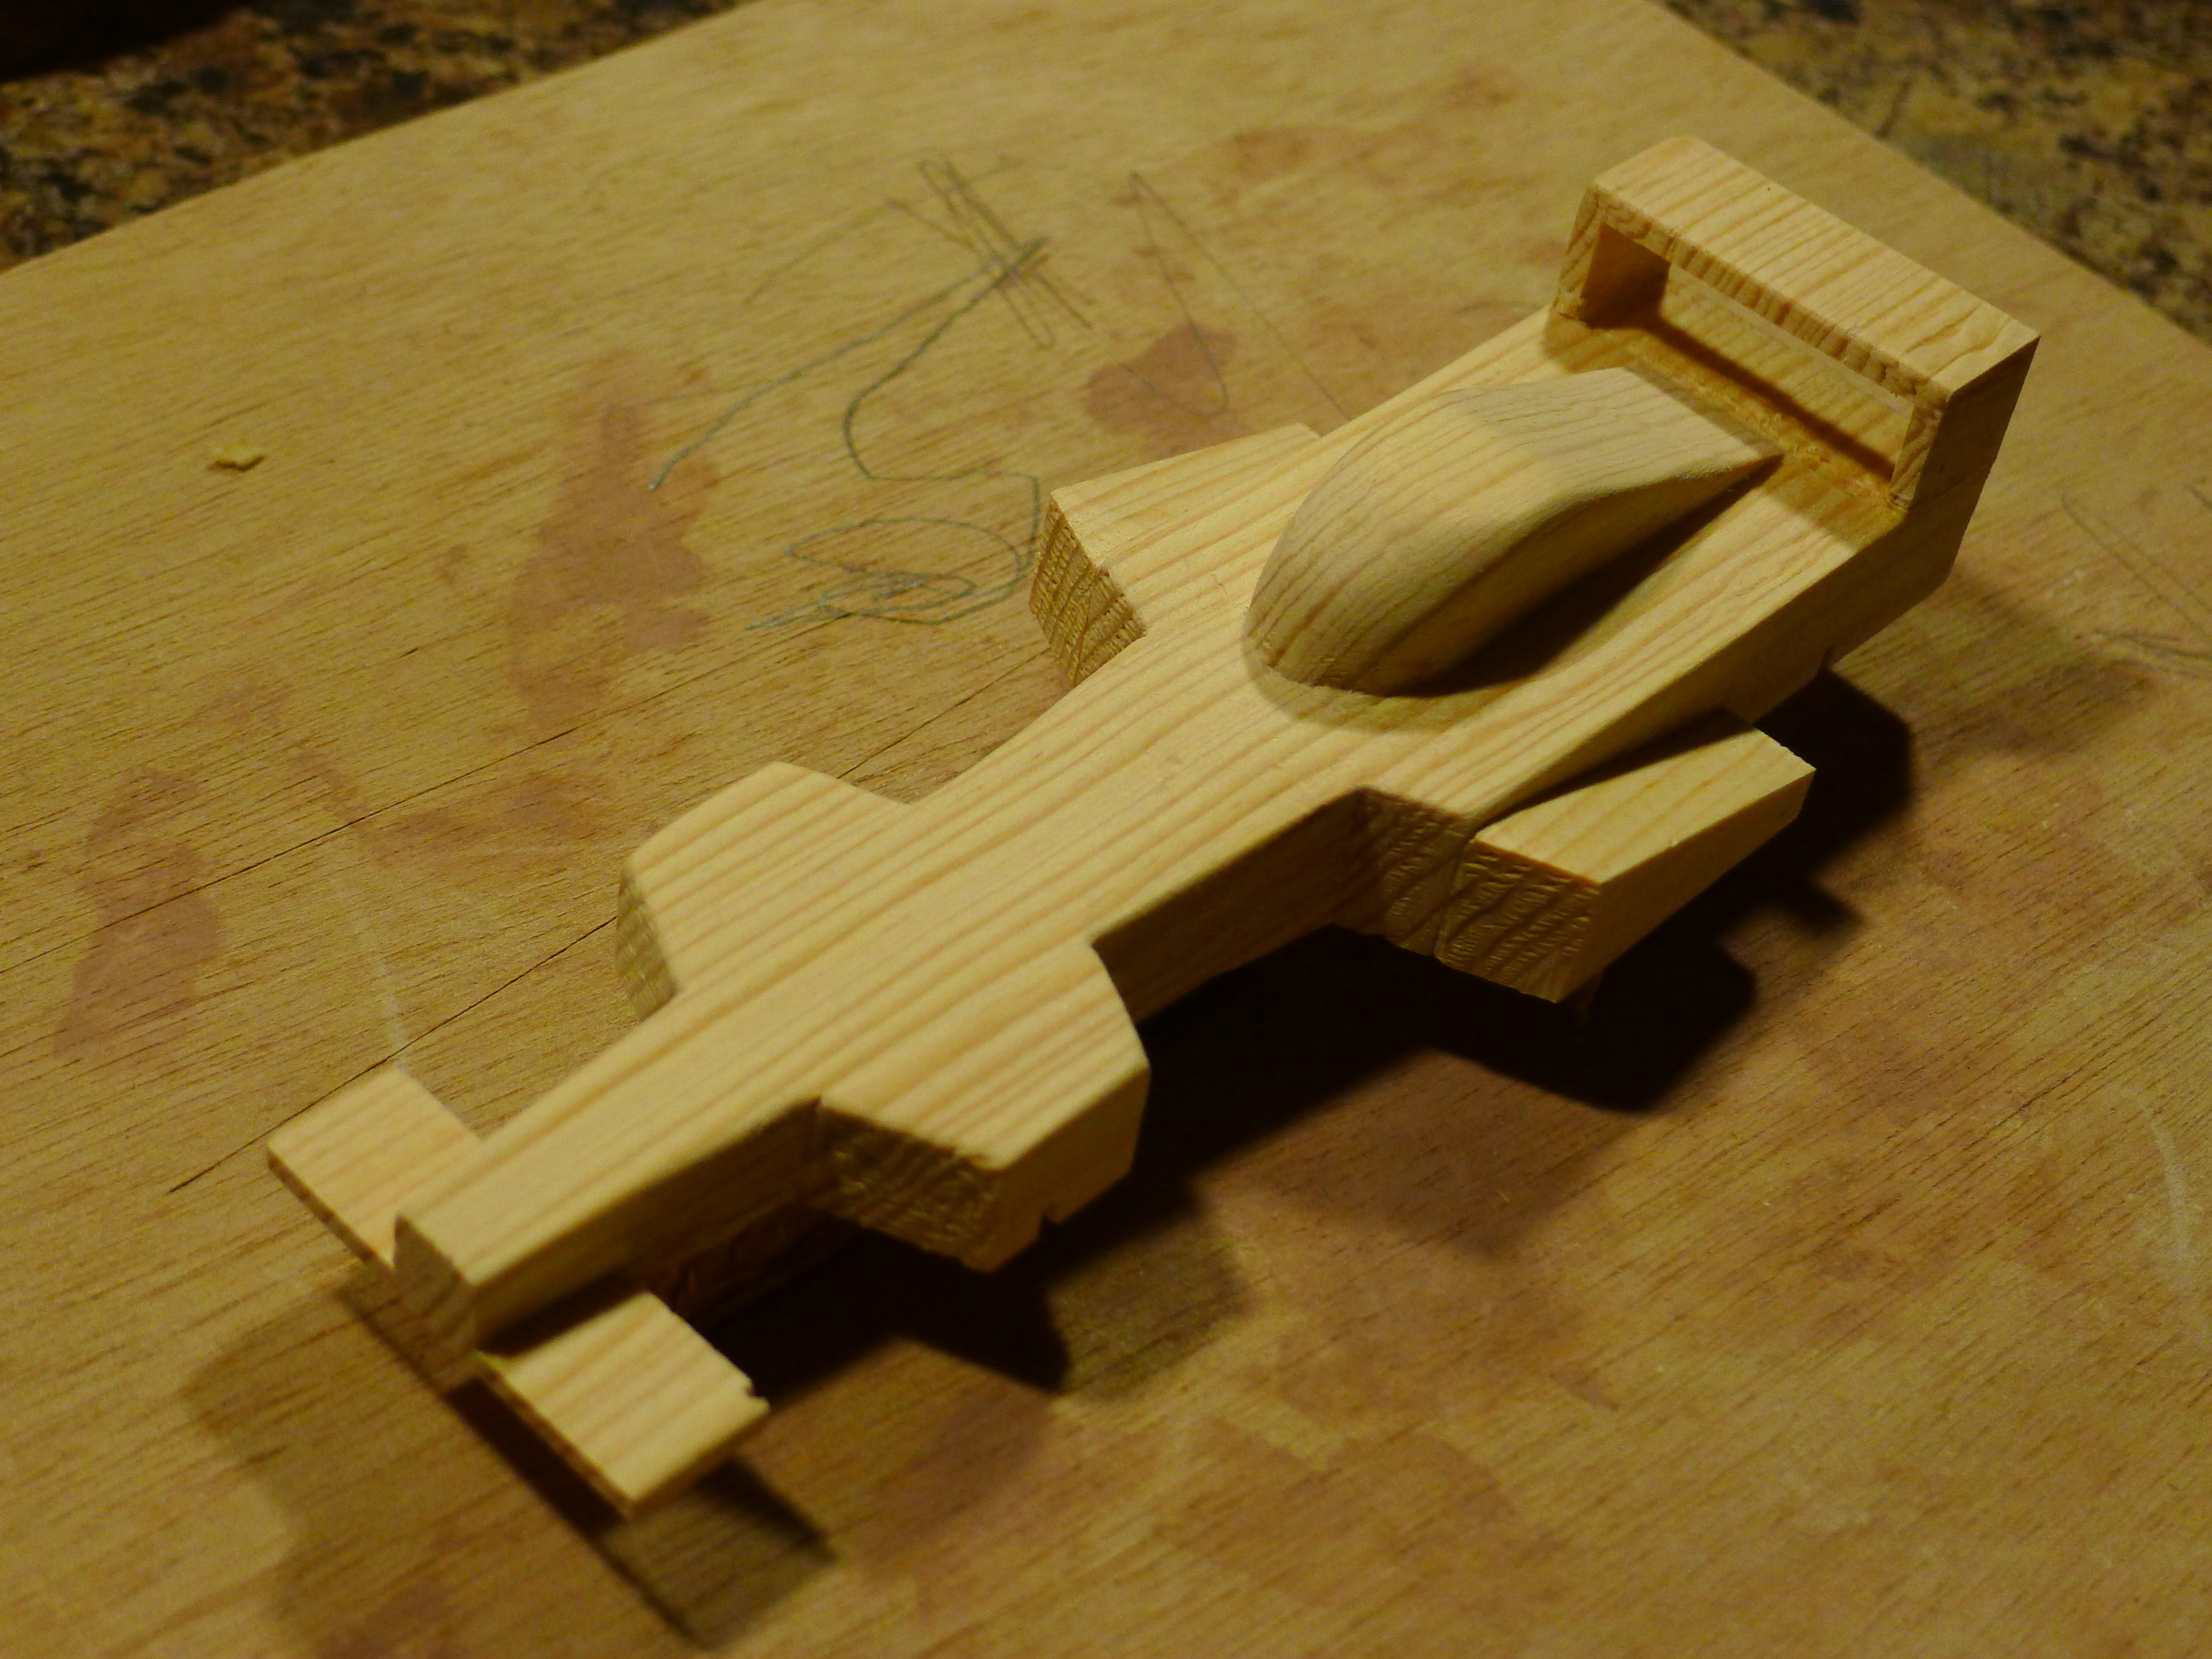
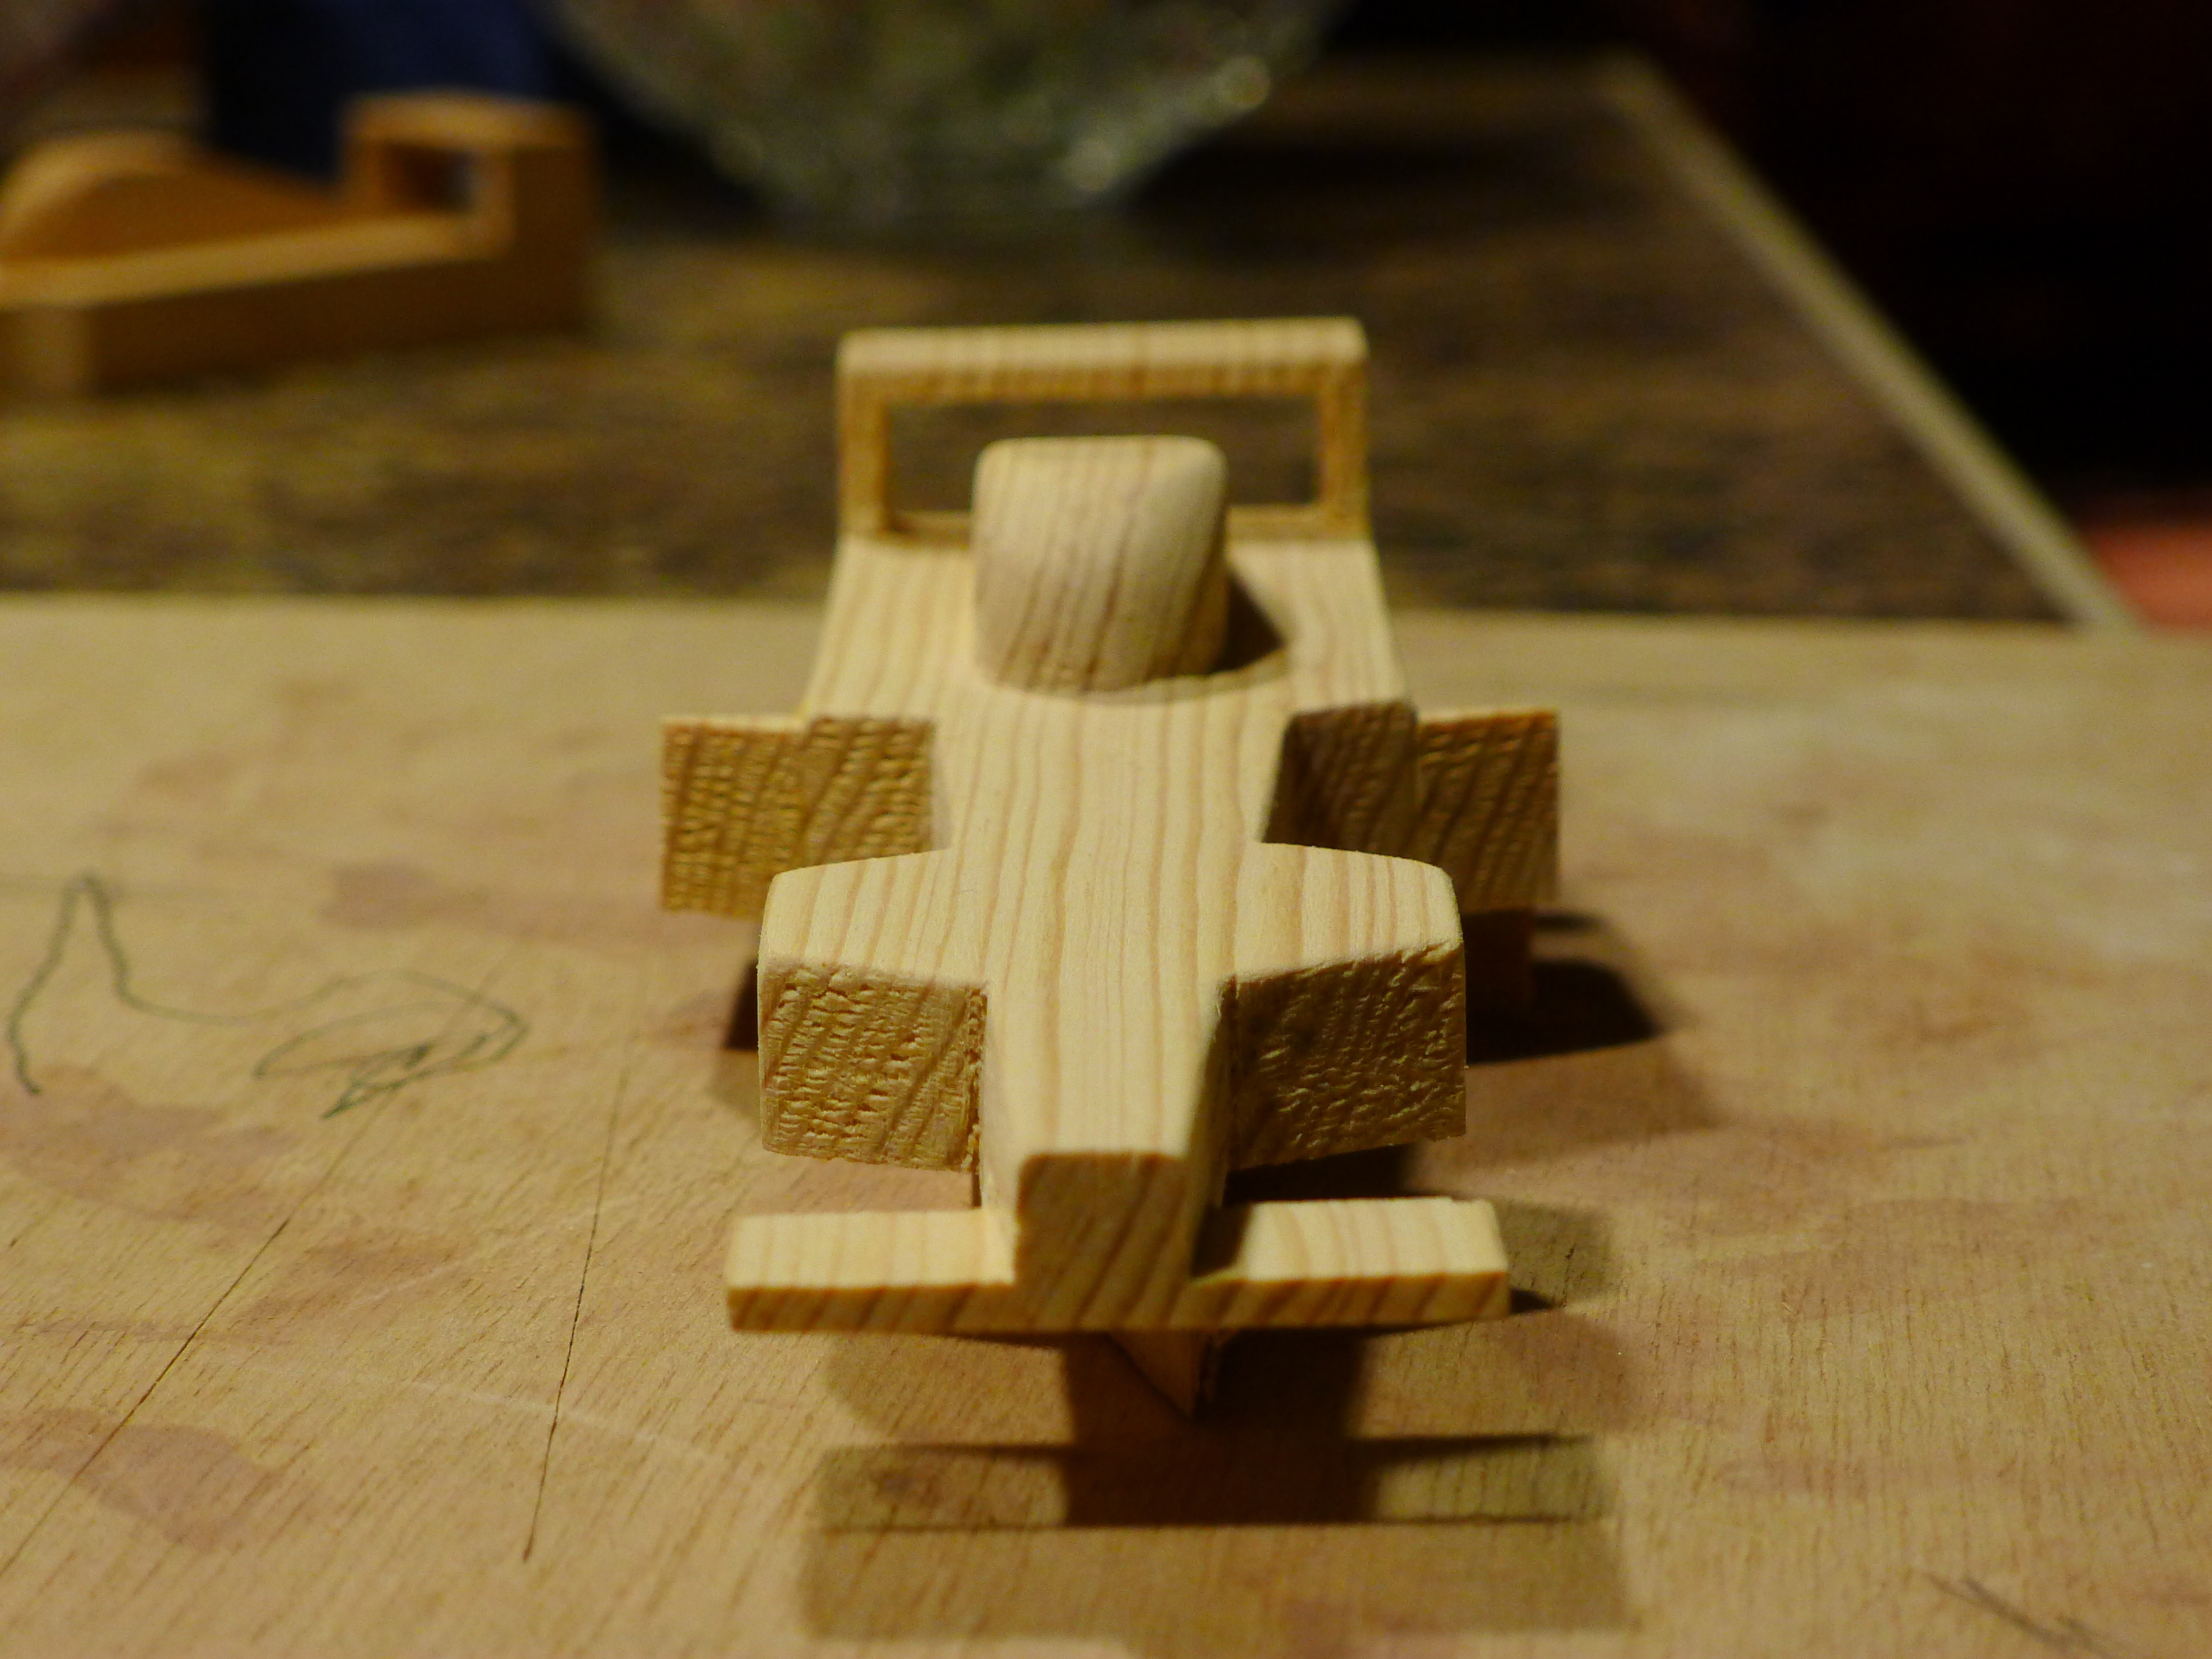
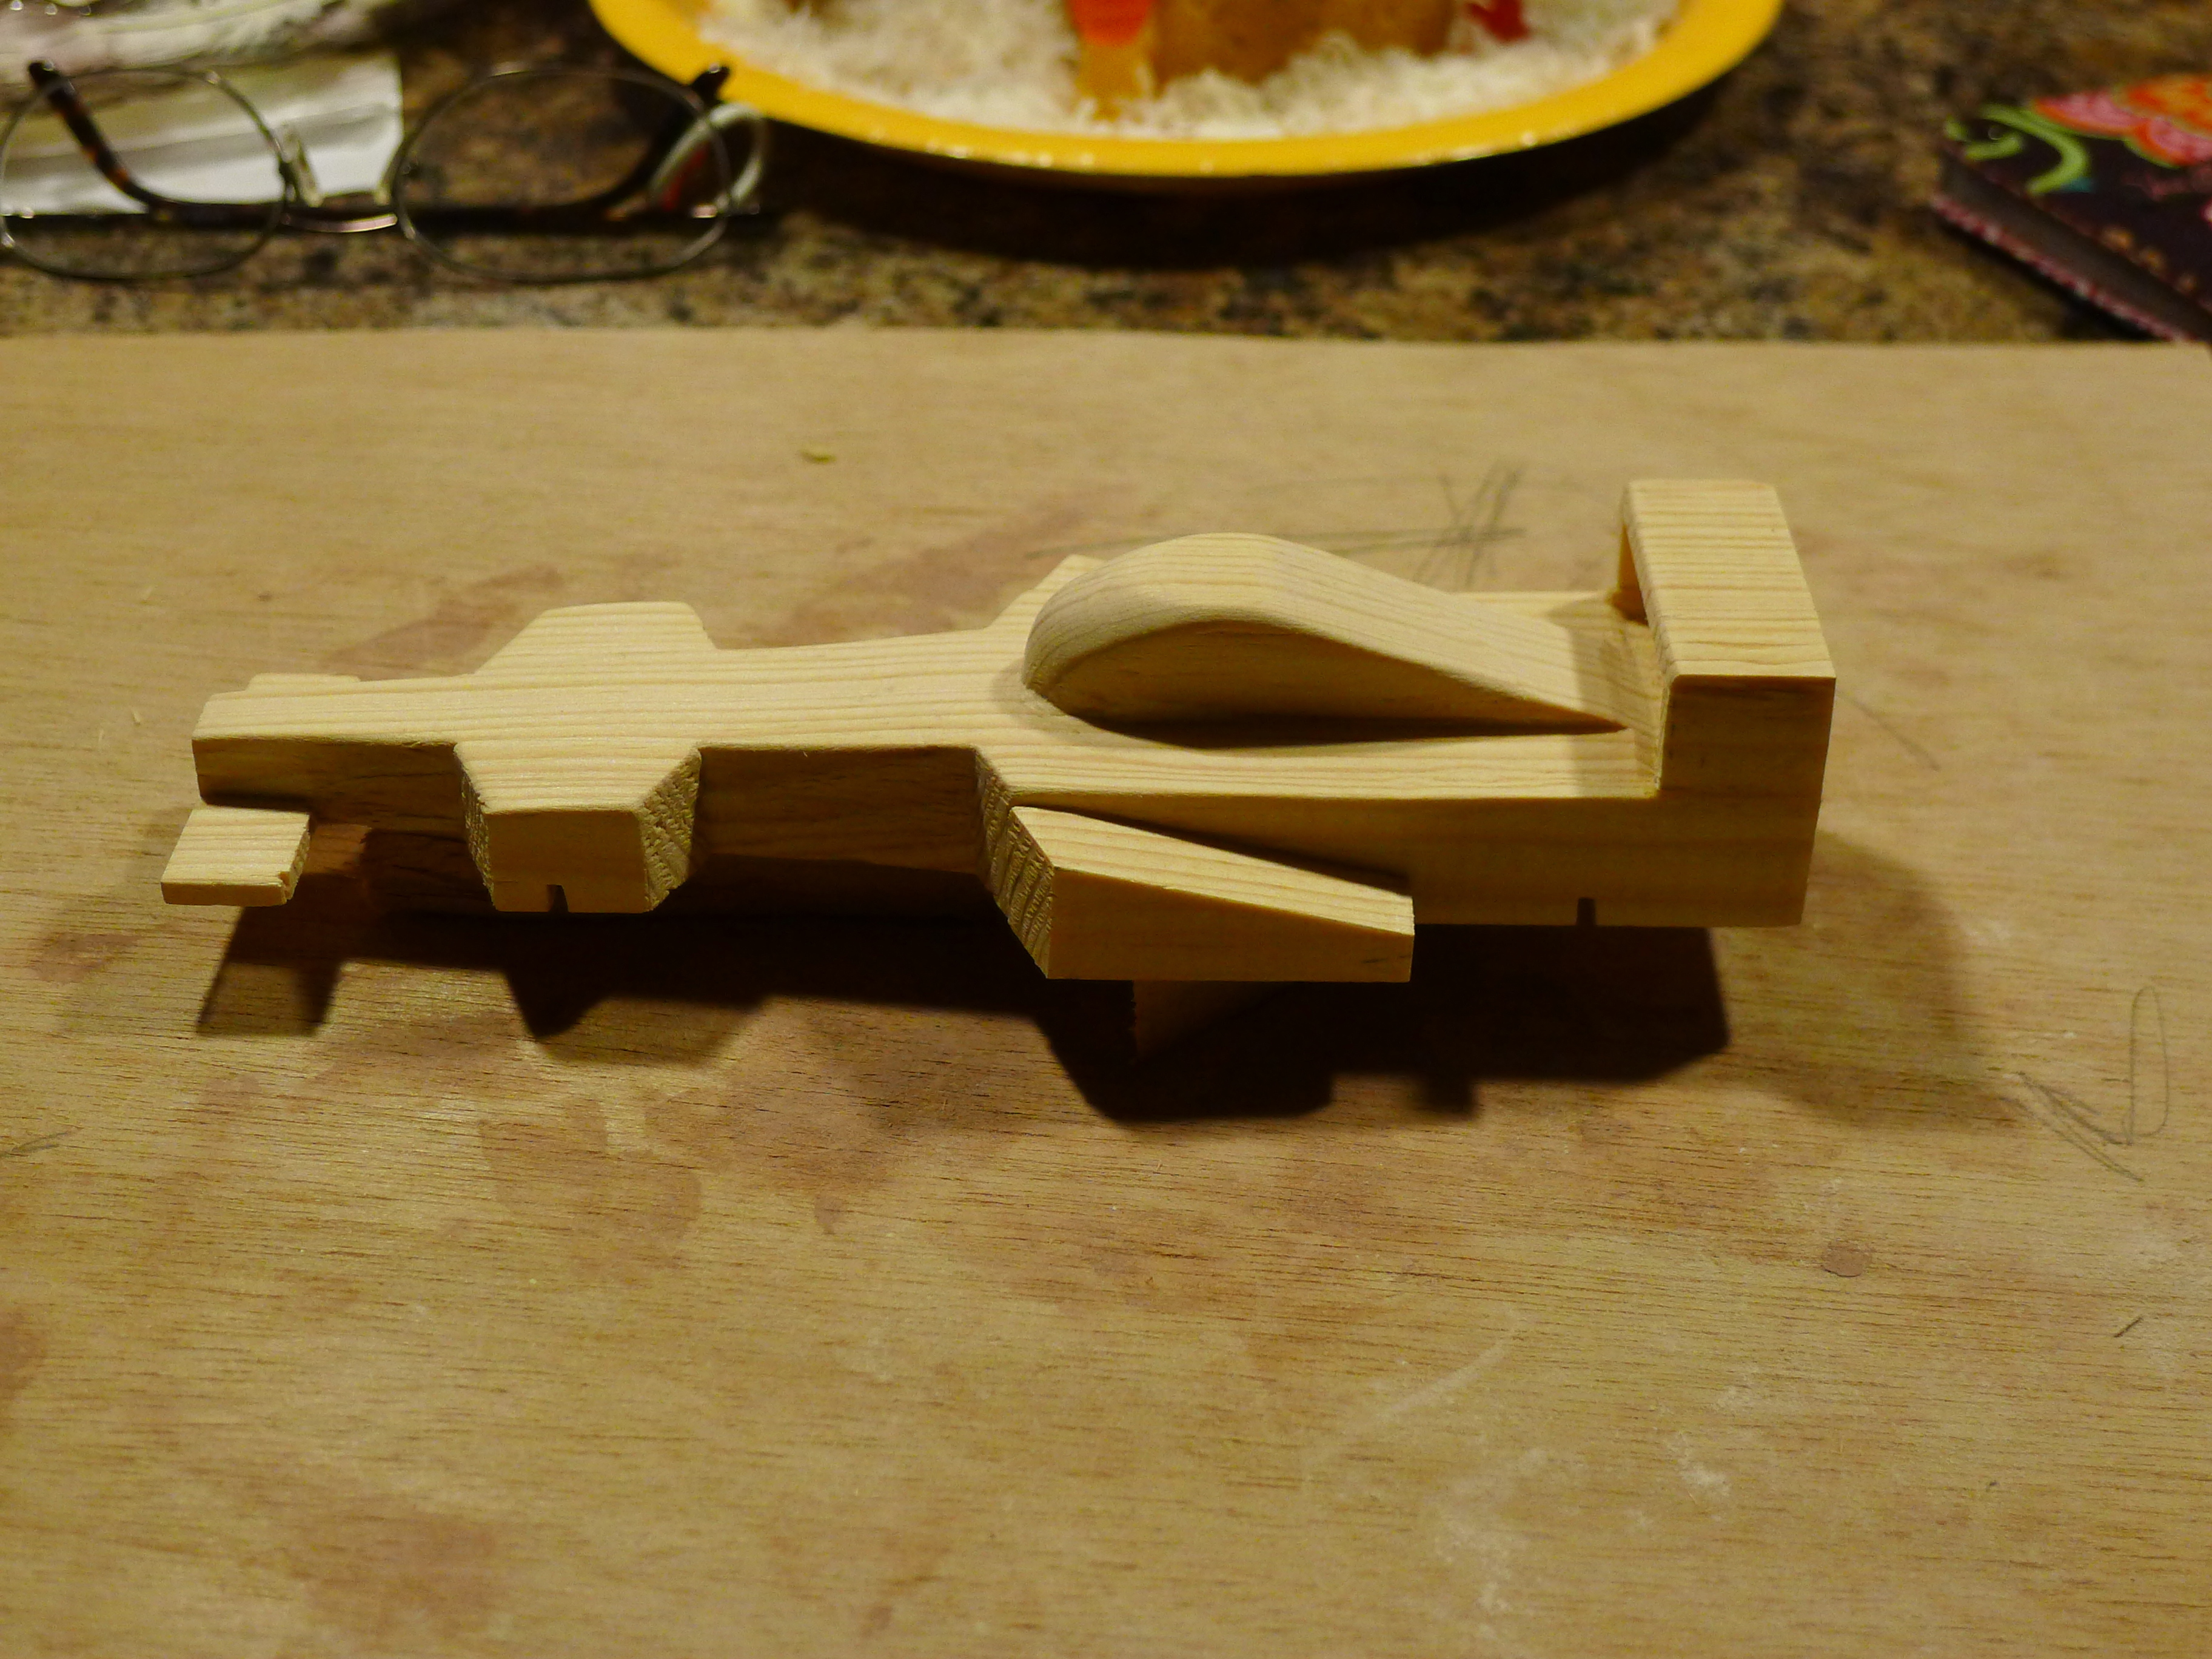
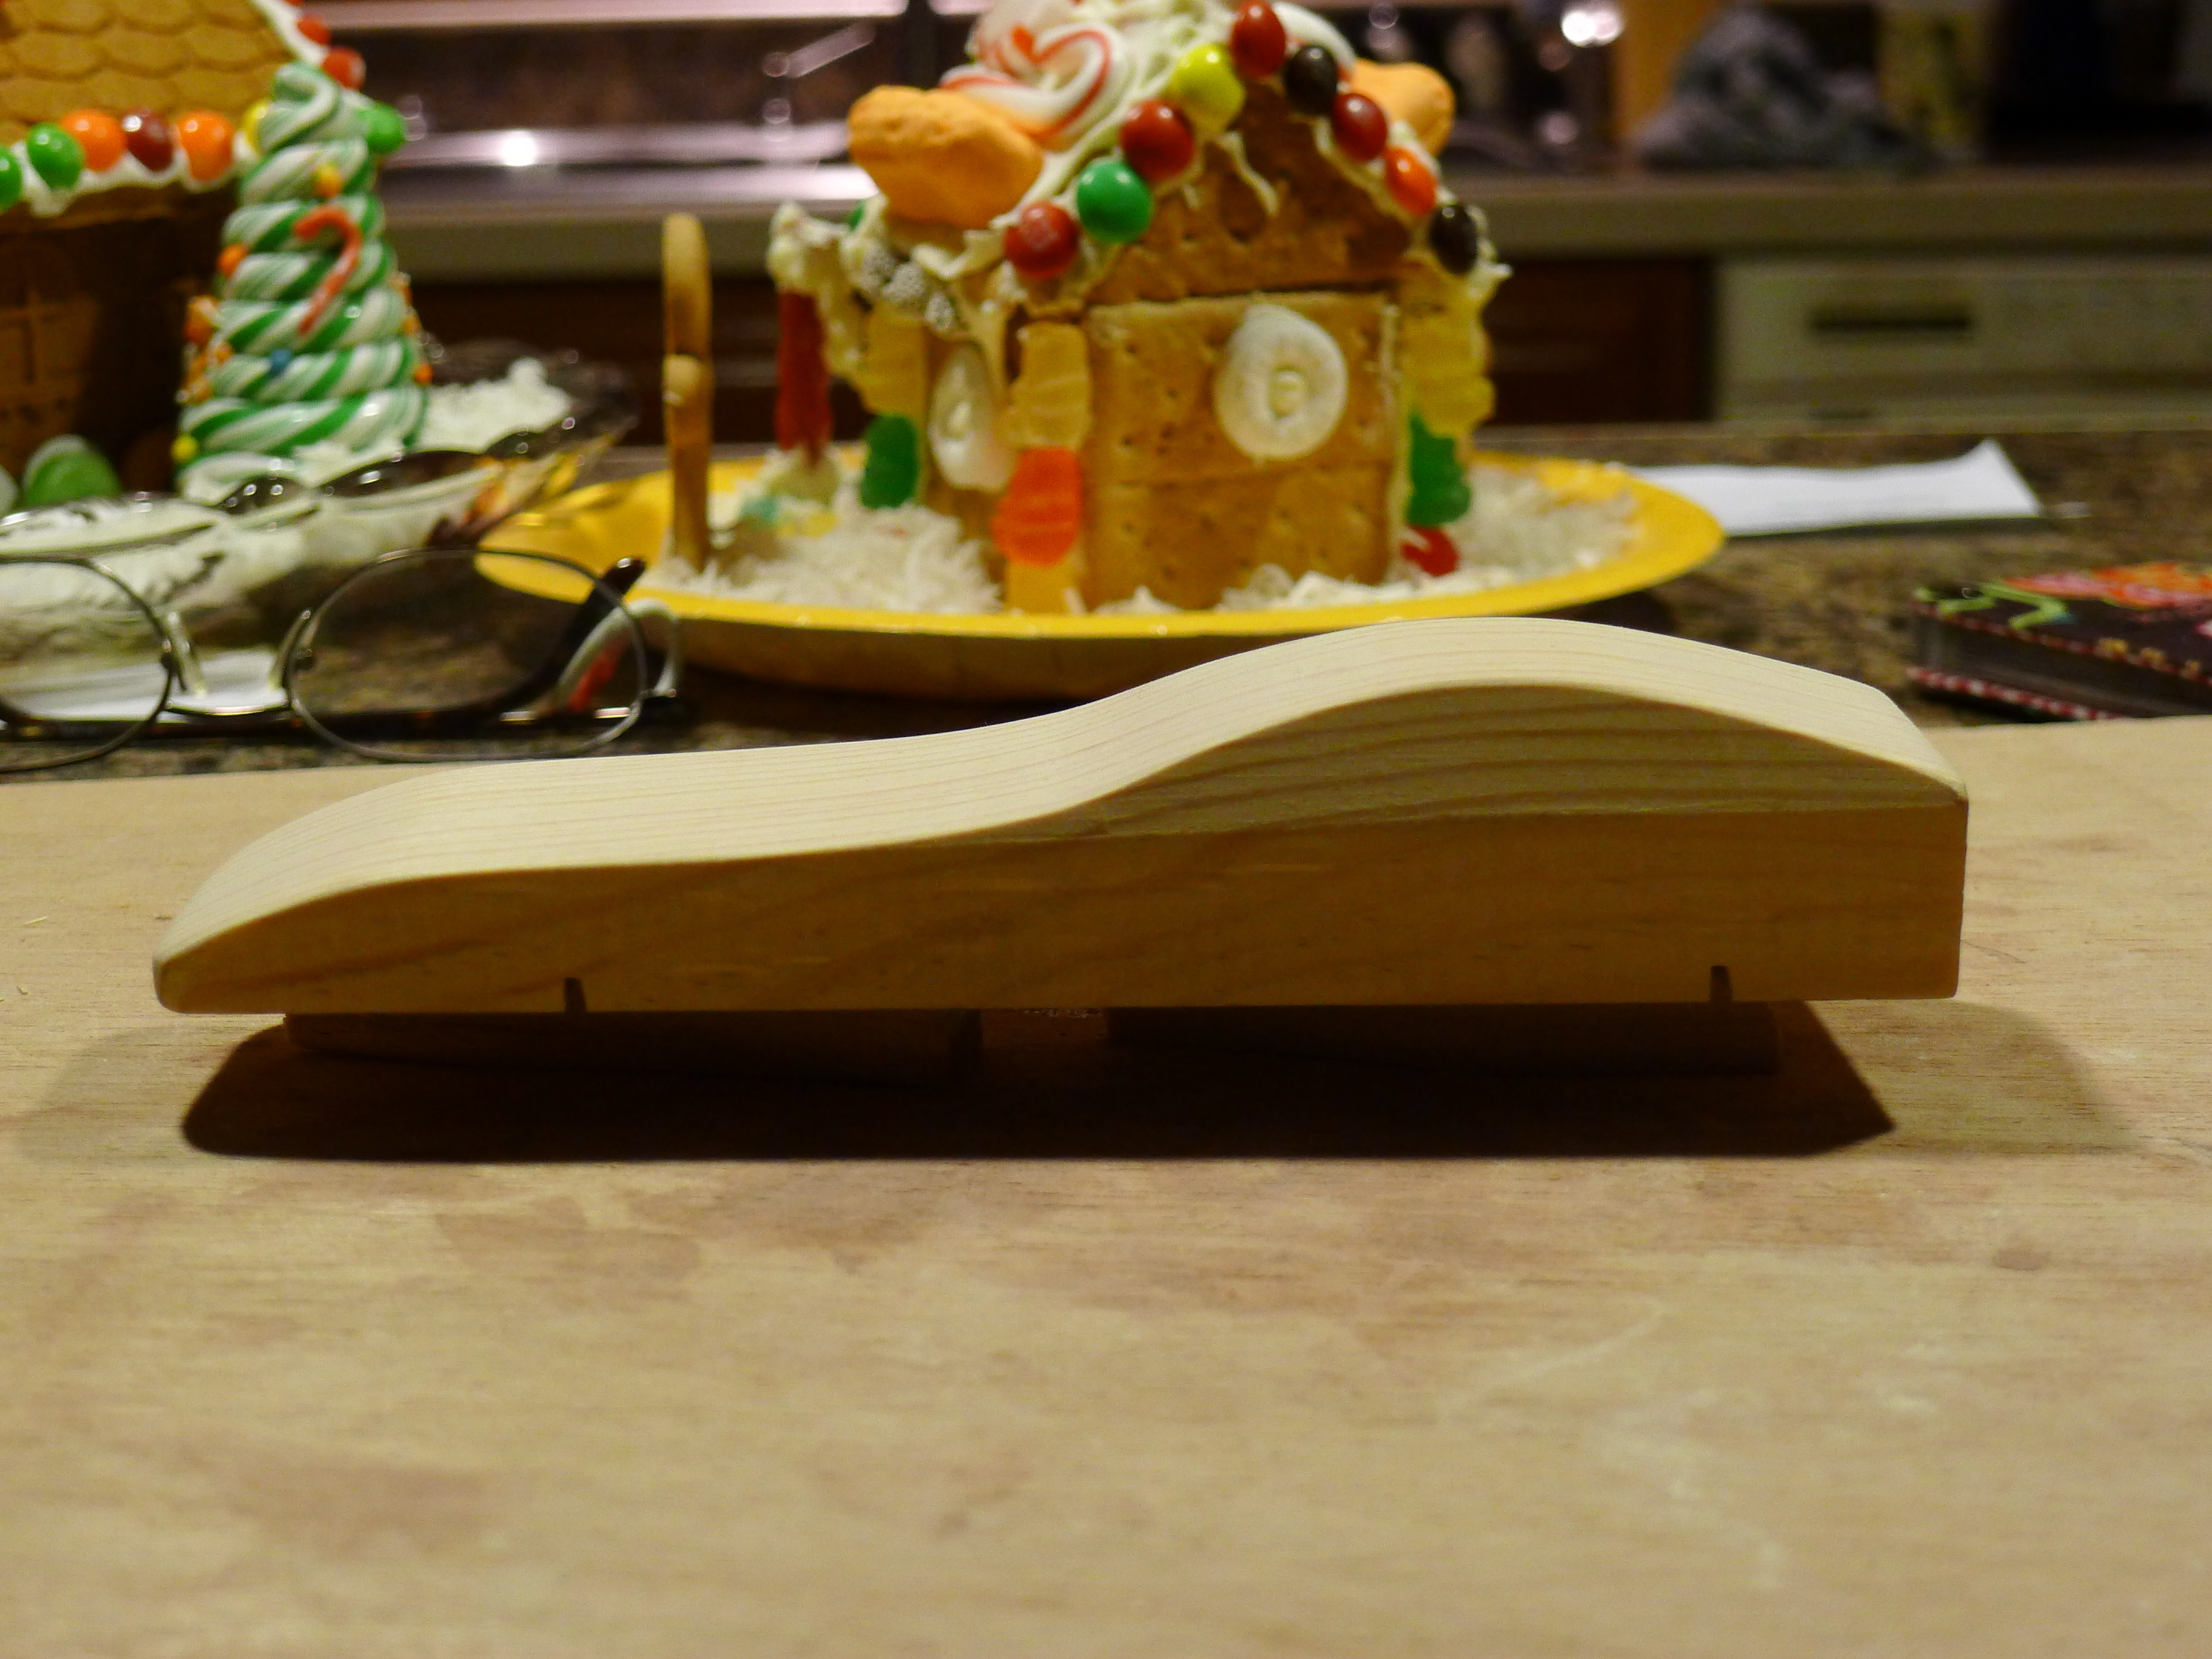
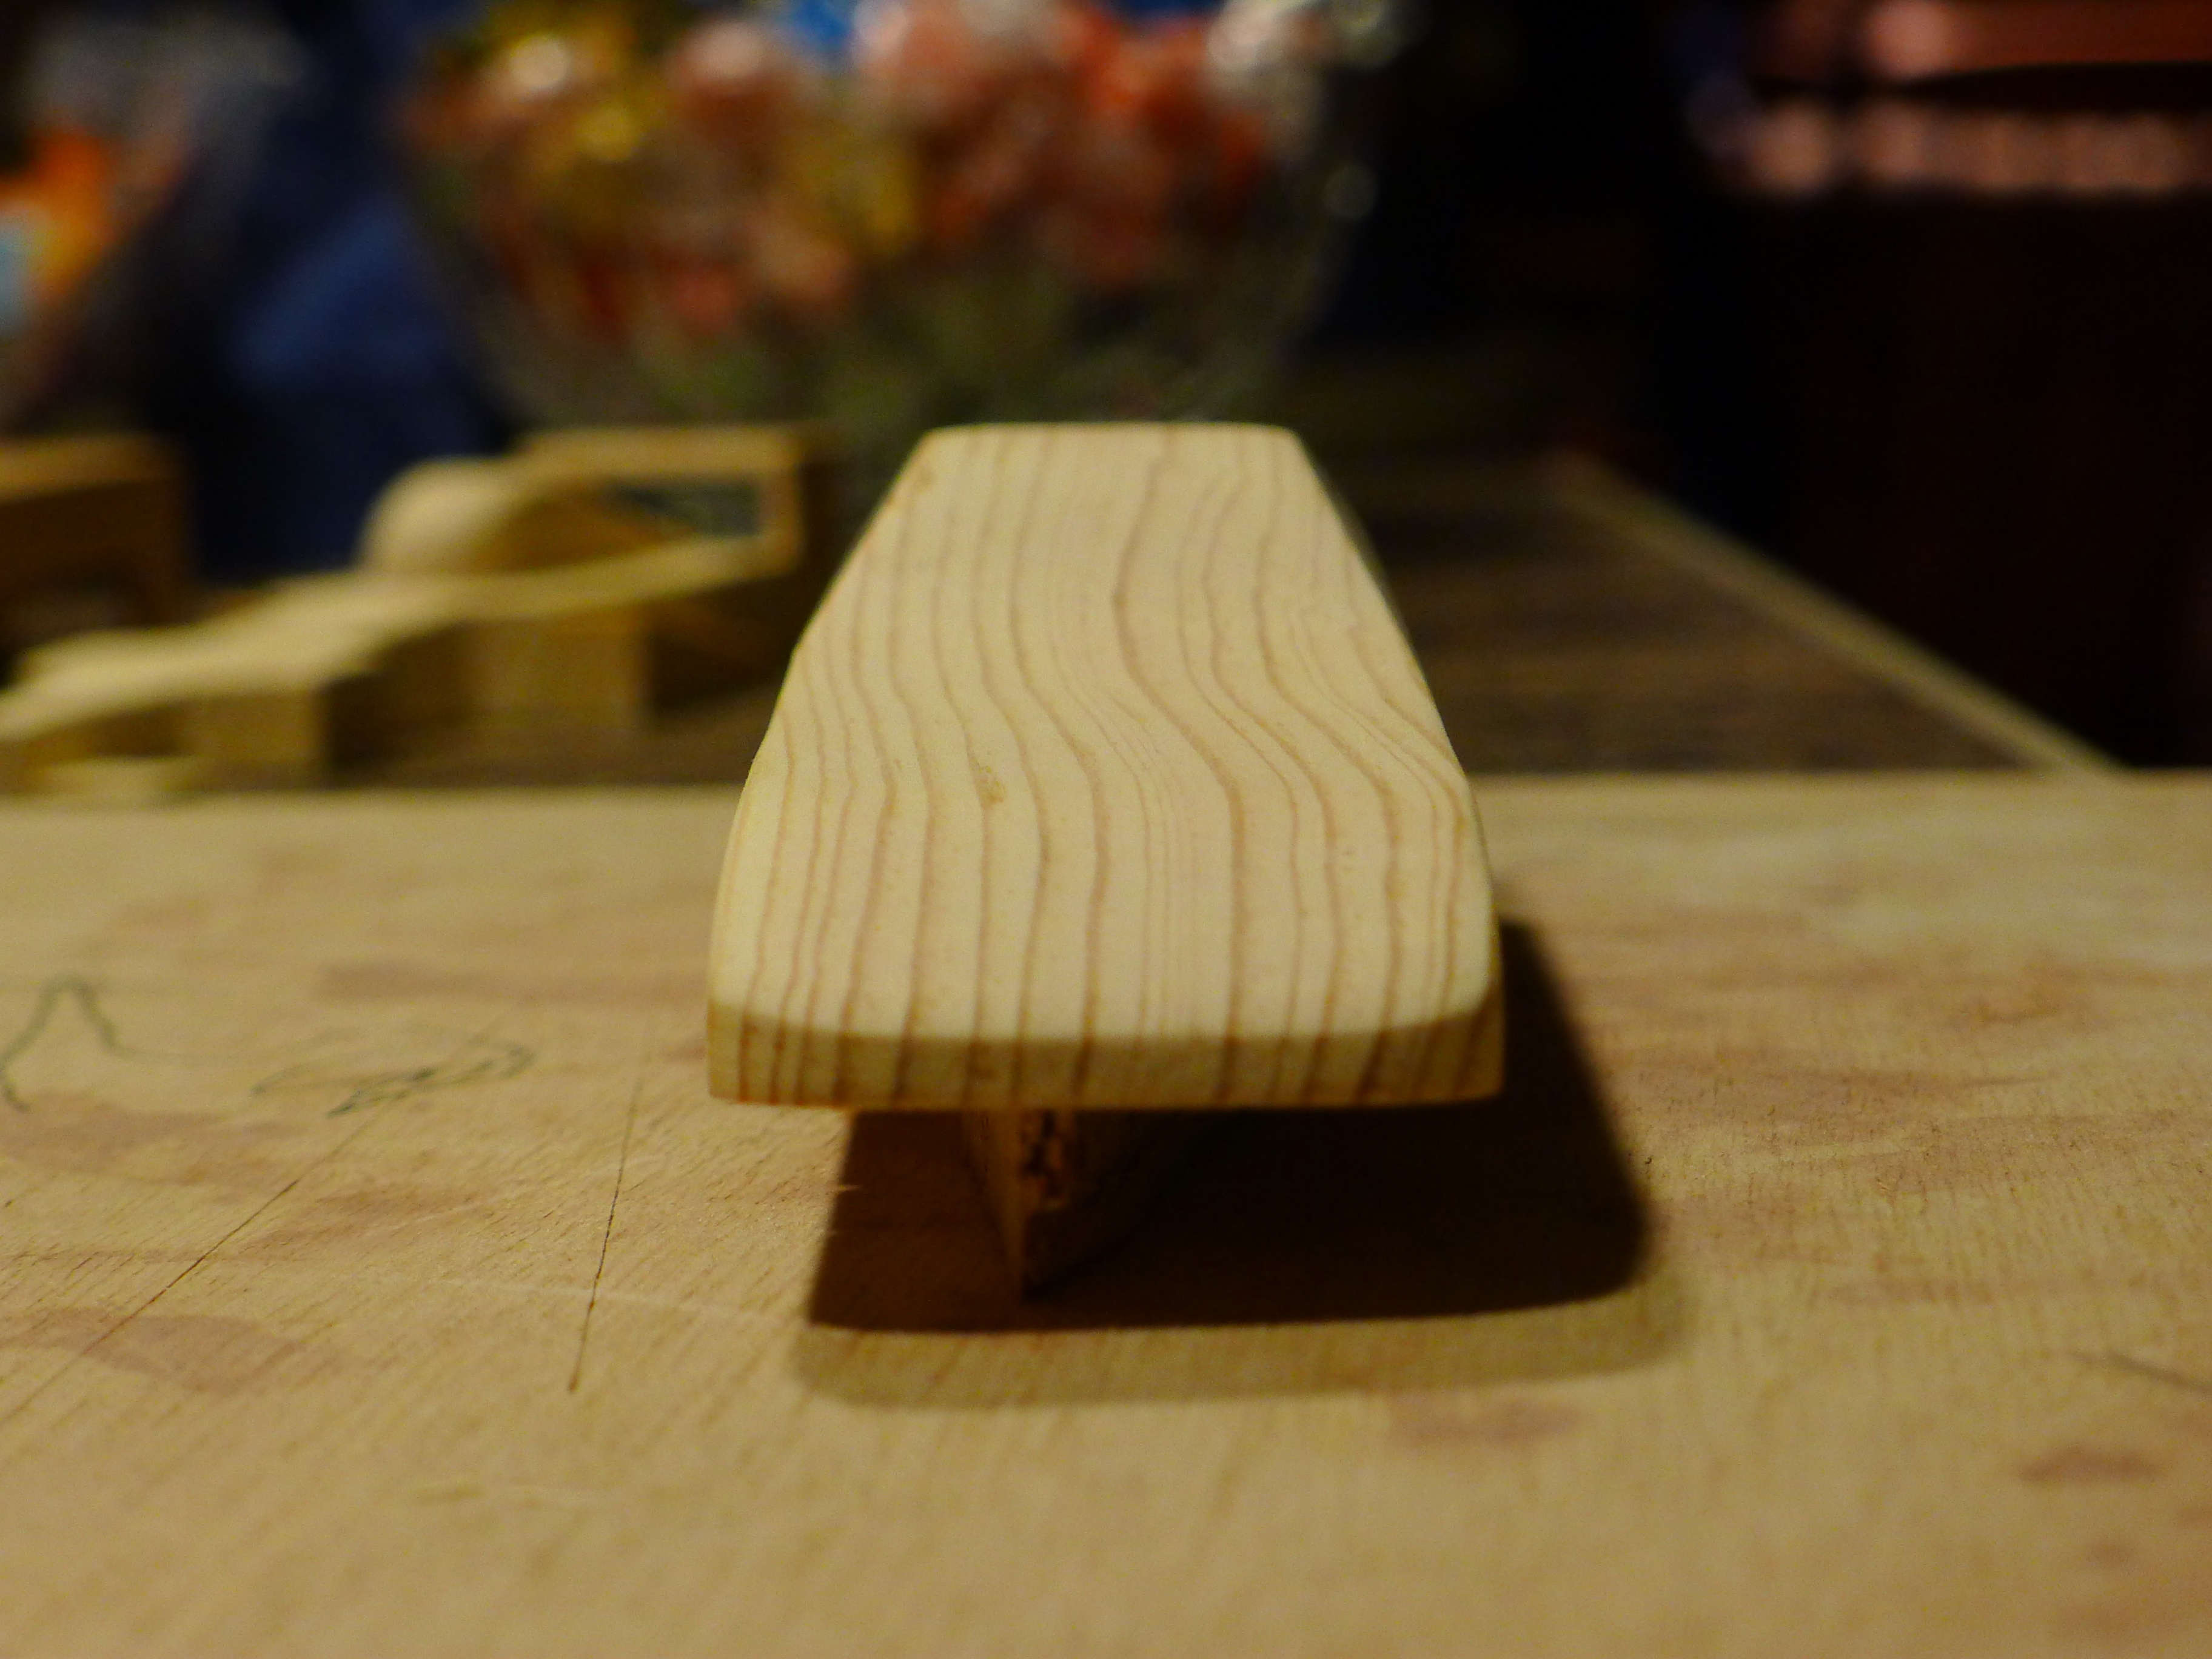
First the boy’s:
And now the lass’:
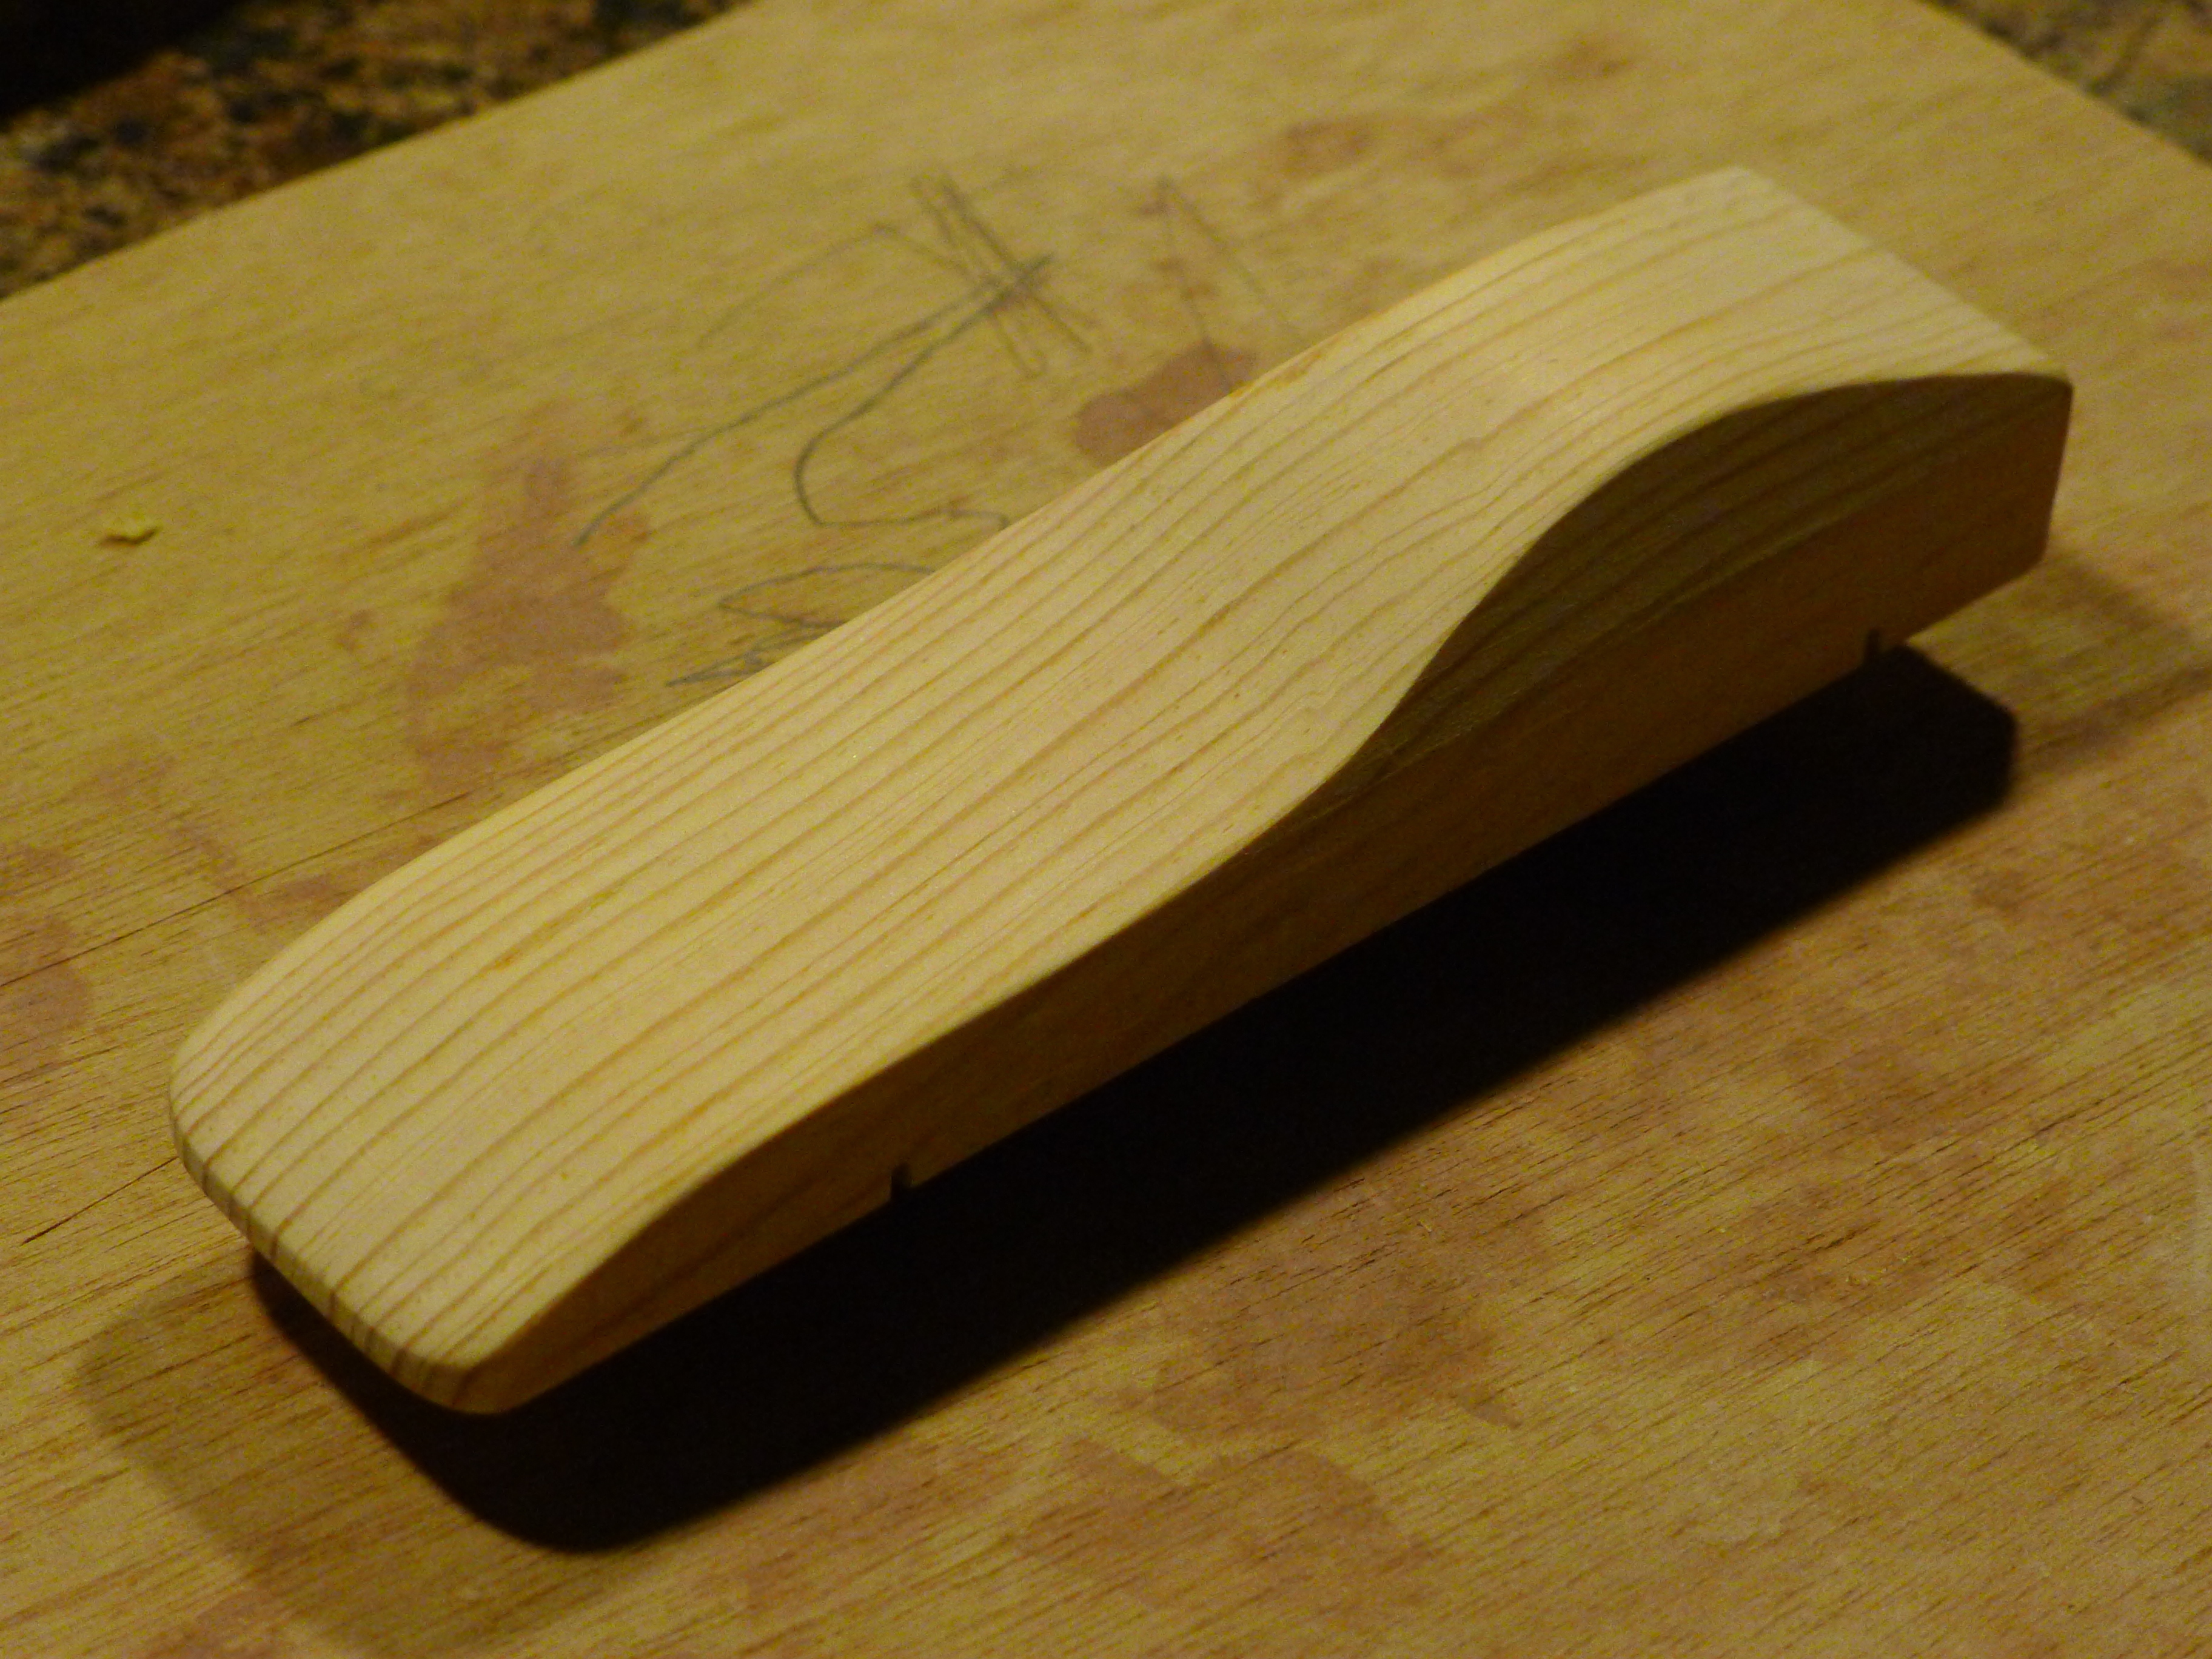
I used the bandsaw for both of them. For the lass’ that was all I had to use. Then it was just a matter of sanding out the saw marks. I did add the slight chamfer where the side windows go just to give it a little more character. Oh, and I cleared that little piece of improv with the lass prior to doing it. I cut it with the bandsaw by tilting the bed to 30 degrees, then used a block plane to clean off the saw marks.
The boy’s car was, er, considerably more involved.
I started by cutting the long slope from the front up to the driver’s bubble. Then I cut out the wedge shaped piece that ends at the rear wing, followed by the front arc that forms the bubble. That gave me the basic side profile. Then I cut out the notches on the sides.
Everything else I had to do using a hand saw, chisels and the drill press.
The first thing I did was cut out the blocks on each side of the driver’s bubble. I had to be careful because the saw was bumping into the rear block that was to become the wing and I didn’t want to break that off. First I cut down, then I cut in from the sides. I had to use a chisel to completely remove the material.
After making that cut, I roughly shaped the driver’s bubble using a chisel, slowly whittling material away, knowing that the sandpaper would finish it off nicely.
The next step was to mark and cut out the material to form the rear wing. I used a 1/2″ Forstener bit and my drill press to hollow out the majority of the material. The wing thickness is only 1/8″, so I had to be very slow and deliberate with the drilling. I had to be even more careful when cleaning out the waste using my chisels. Good thing they had been recently sharpened. It didn’t hurt that I was chiseling into the end grain of pine.
The last set of cuts was the front air foil. I used a hand saw and carefully removed the waste material on both sides with one cut down and then a cut in from the sides. The air foil is also 1/8″ thick, so again it was just relax and let the saw do the work.
Once all that cutting was done, I sanded it to clean up saw marks and pretty it up a bit. The last step was to cut some blocks out to glue onto each side in front of where the rear tires go. I was able to use the waste material from some of the previous cuts for this purpose. I did shape the piece prior to gluing it on, rather than gluing a block on and then shaping it in place.
In all, it took me a couple of hours to get it done. I know I’ll take some heat for having done so much work on a kid’s project. I’ll just say that it remains to be painted and I intend to let both kids do the painting with no physical assistance from myself. So they will contribute before all is said and done. Also, I did mock ups of both cars prior to the real thing to figure out the best process for building them. For the boy’s car, I had him outside with me and explained everything I was doing. The lass watched me cut out her car and she even did some of the sanding. Oh, and remember, they did both select their cars without any help from me either.
But yeah, I’d be lying if I said I didn’t have any fun making them.
2 replies on “Pinewood Derby Cars”
hmmmm….too bad YOU can’t enter !!!
Yes, too bad indeed. Perhaps we should try adding an “adult” race to the slate next year. I intend on letting the kids do a little more of the cutting so I won’t have as much to contribute…