The Wife has decided it’s time to update the lass’ room. With the exception of rearranging it and changing the curtains a couple of times, it’s been largely unchanged since she was born. We’ve begun the process of repainting the room and that’s afforded me the opportunity to address the crappy drywall we’ve got.
I say we have crappy drywall because it does not take kindly to wall anchors. Or, more correctly, wall anchors tend to ruin the drywall. The paper seems to be a sub-par variety that tears easily, the drywall itself, once compromised by the hole that any anchor requires, crumbles over time to the point of making the anchor useless.
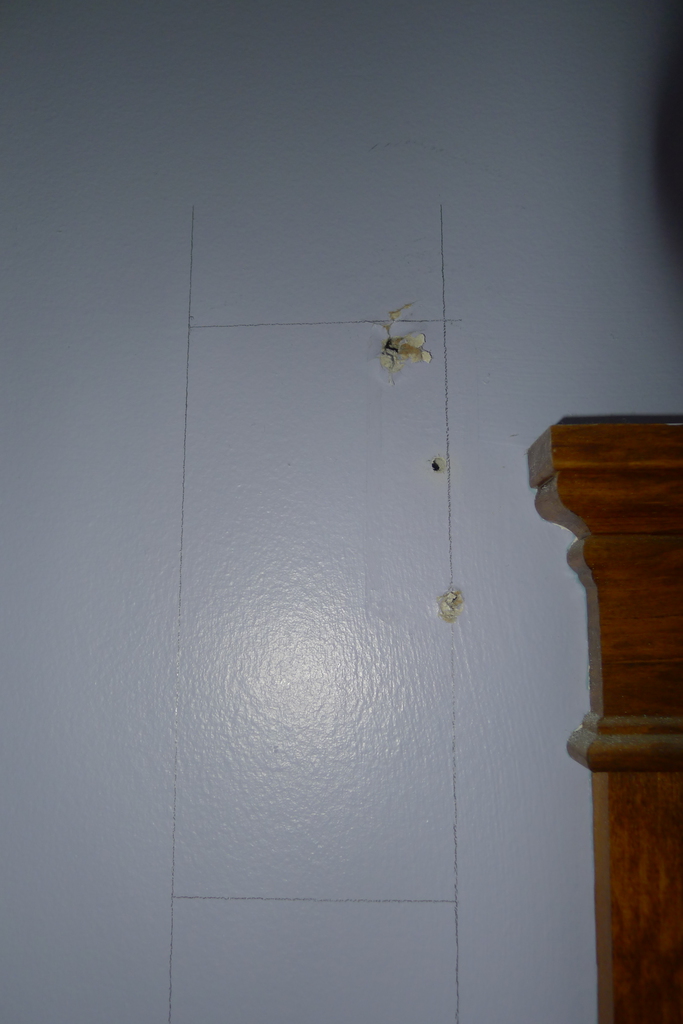
This is most evident where the curtains are hung.
The Wife doesn’t want the curtain rod supports attached to the casing surrounding the window, which means we have to anchor the curtains in the drywall on either side of the window. Curtains are a double whammy because they are an active load on the anchor- they are always being shifted and moved and the stress on the anchor wears out the drywall that much quicker.
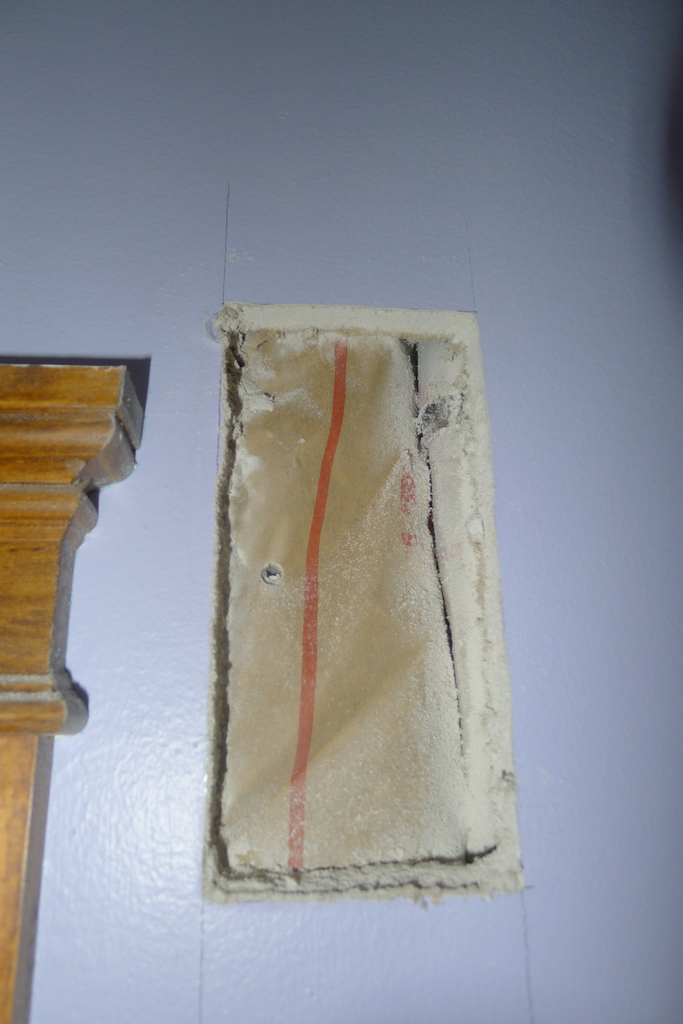
Here’s what the wall looks like after removing the curtain rod supports:
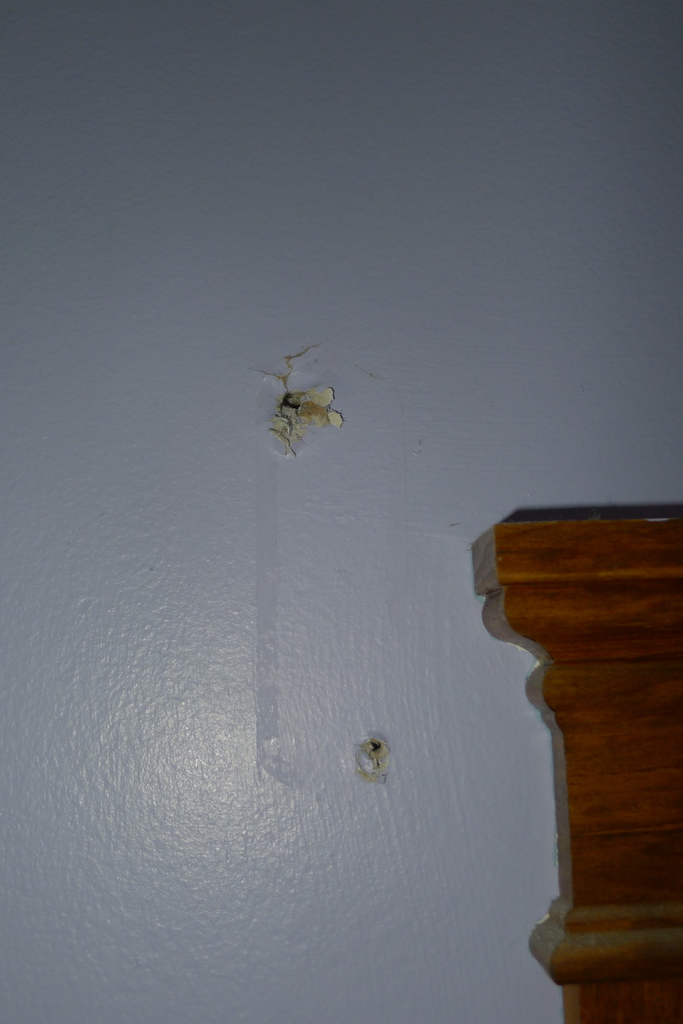
That area is now basically unusable for when I need to replace the supports.
So I’ve taken to fixing the problem by installing a backer-board behind the drywall. It’s just a rectangular piece of wood that goes behind the drywall that I can screw into to secure the curtain rod supports. Thus, eliminating the need for drywall anchors.
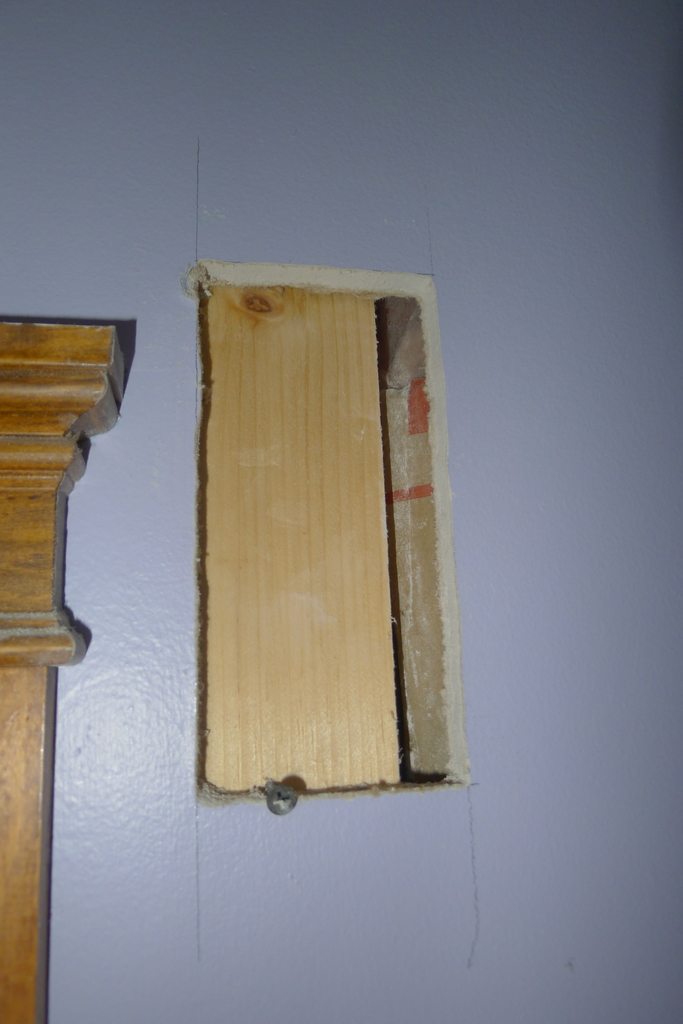
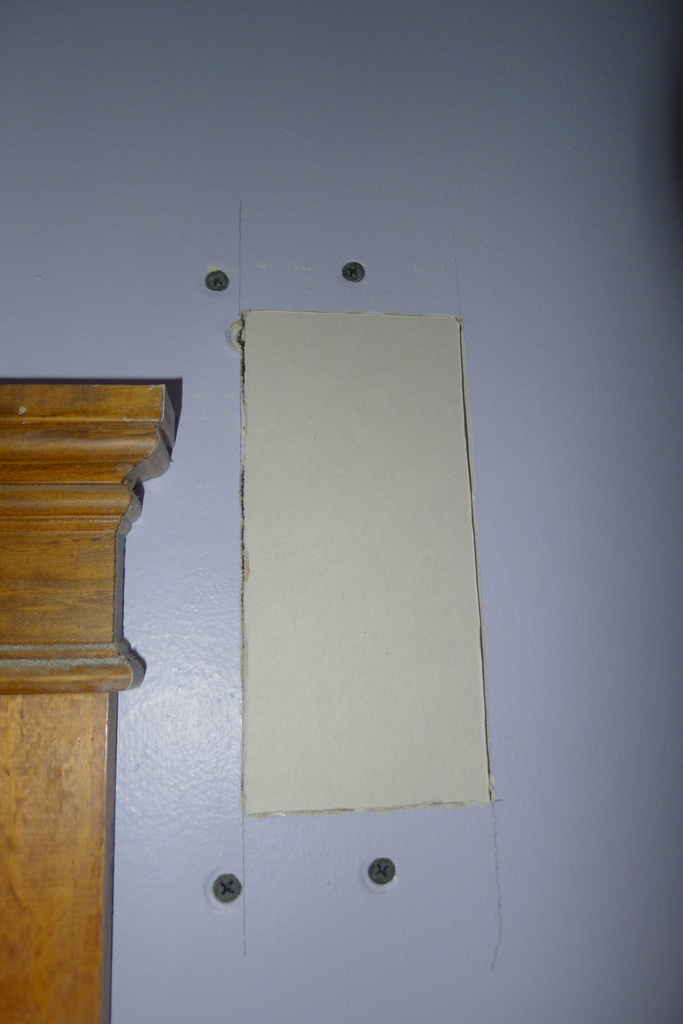
To start, I cut some pine boards that are roughly 3″x10″ and trace the width onto the wall. I locate the cutout an inch or so away from the widest part of the casing:
The length, or height, of the rectangular cutout should be about 1/2 the length of the board. This gives enough space to insert the board behind the drywall while also allowing for anchoring it in place.
Now, it’s pucker up time because we’re going to cut a square out of the drywall, which means things are going to be temporarily worse before they get better.
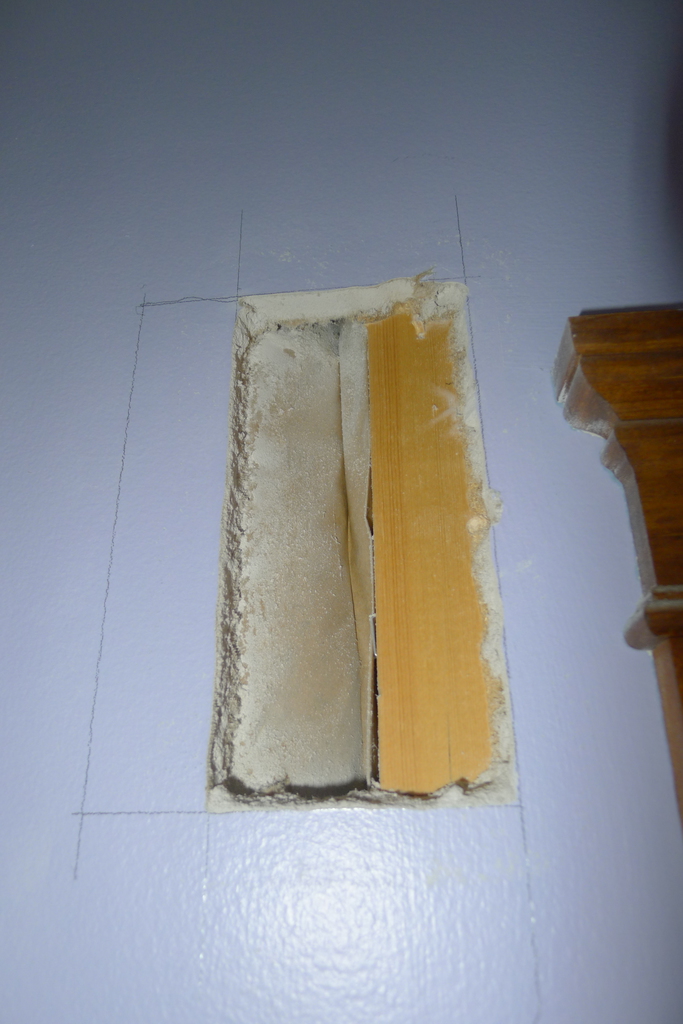
Surprise! Turns out there was a stud right to the right side. No matter, we’ll just extend the cutout so so we can slide the pine board in next to the stud. We’re already committed to patching the drywall, another inch or so isn’t going to matter.
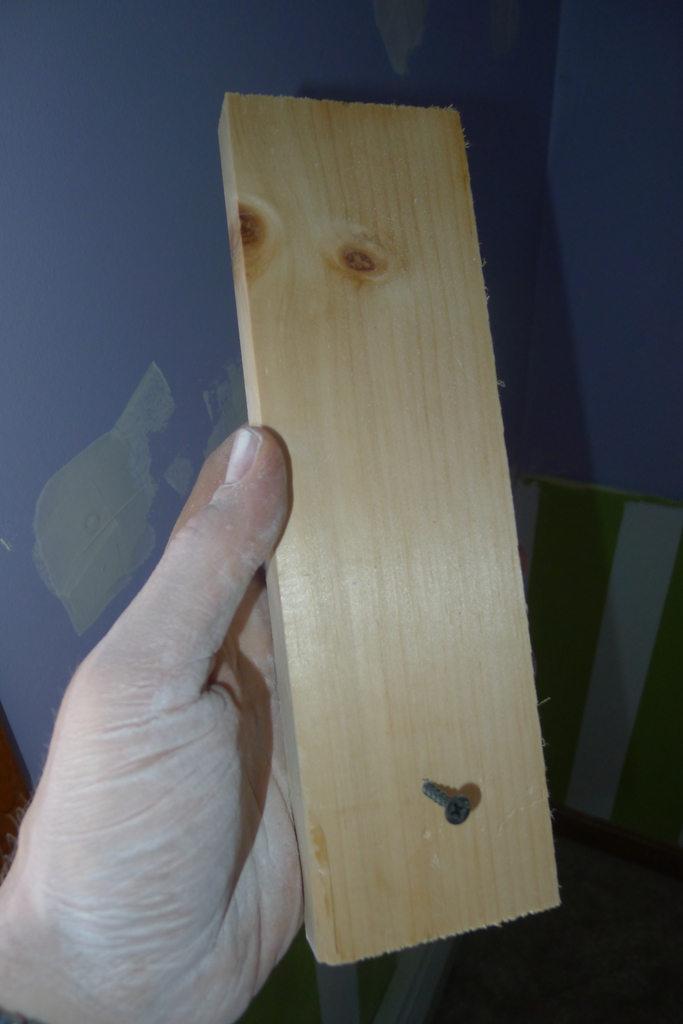
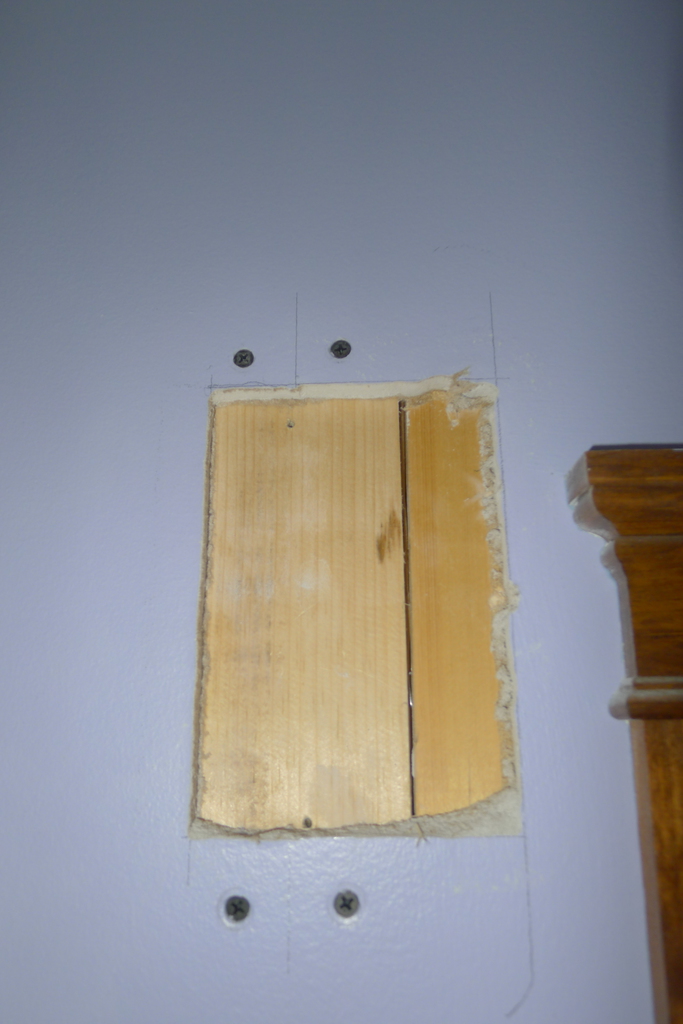
This is the piece of wood I’ll be inserting behind the drywall, a simple piece of pine. The screw will serve as a handle and position setter when we slip it up behind the drywall. It’s a little detail because without it, once we get the wood behind the drywall, the screw may well be the only thing that keeps it from falling down and disappearing behind the drywall.
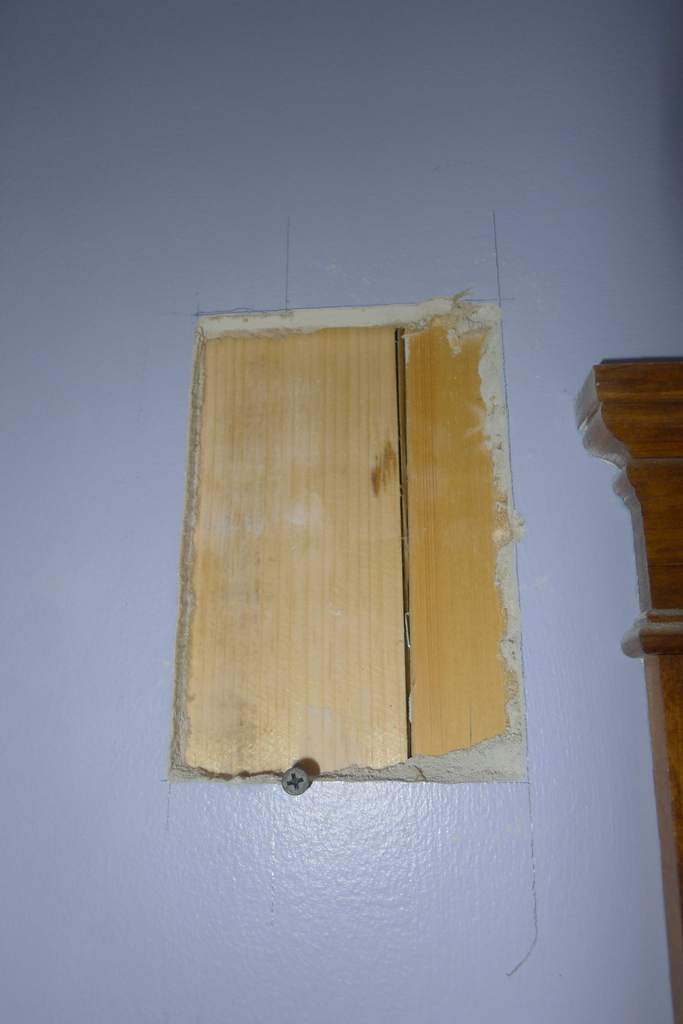
Here, the wood’s been placed behind the drywall. Notice how the screw help to keep it in place. On the right side, I’ve also slid the wood back towards the window a bit.
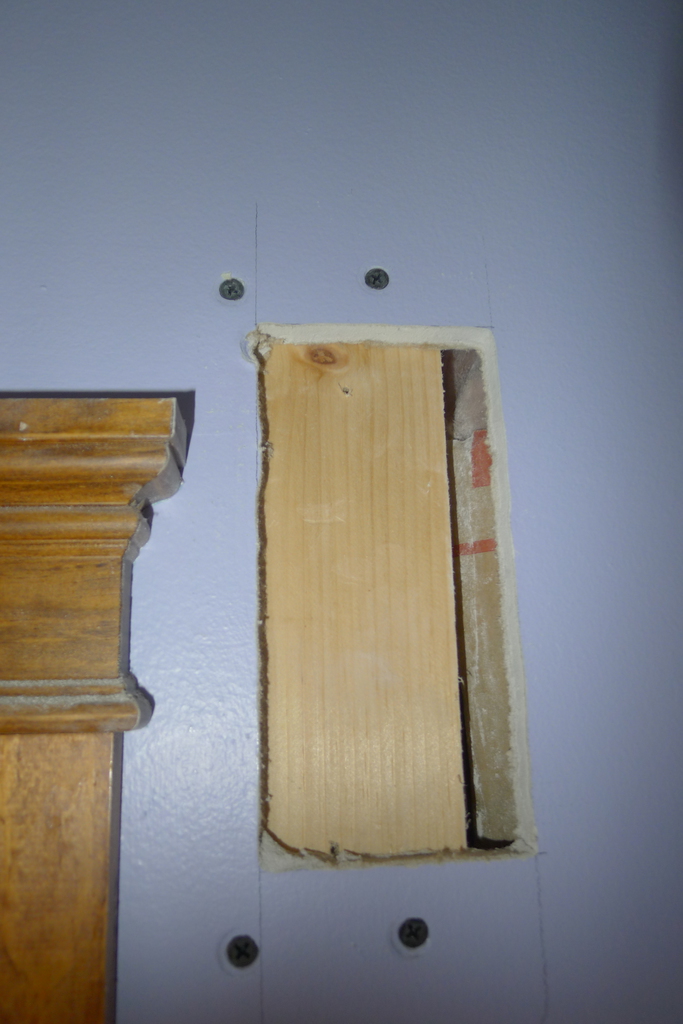
The next step is to secure the wood in place with some drywall screws, like so:
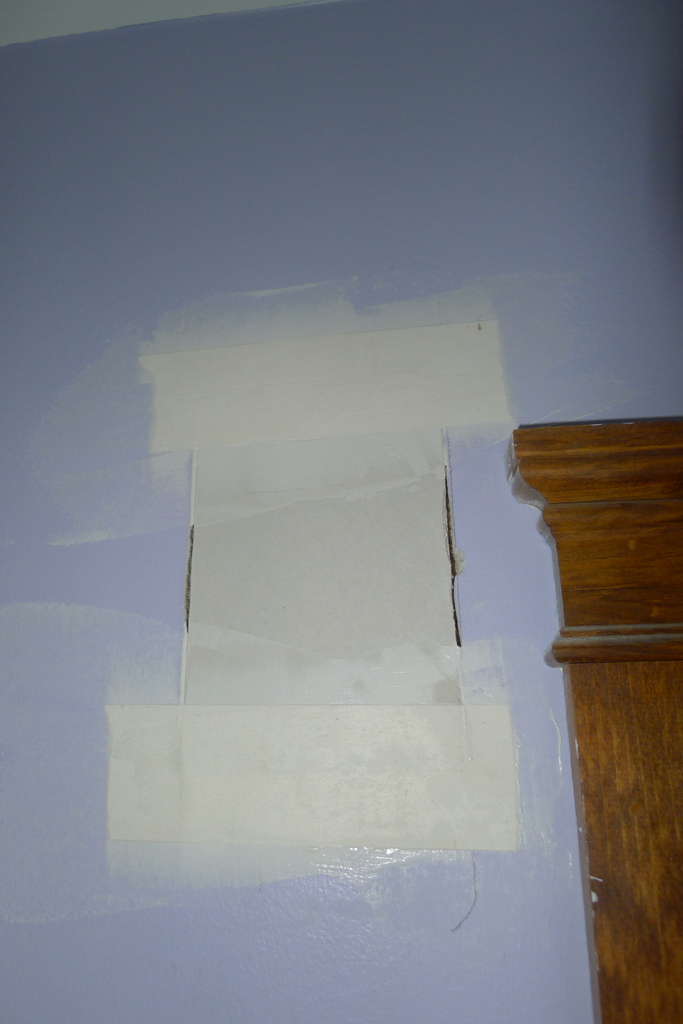
And now, the job turns into a drywall patch job. I cut out some pieces to fit into the cutouts:
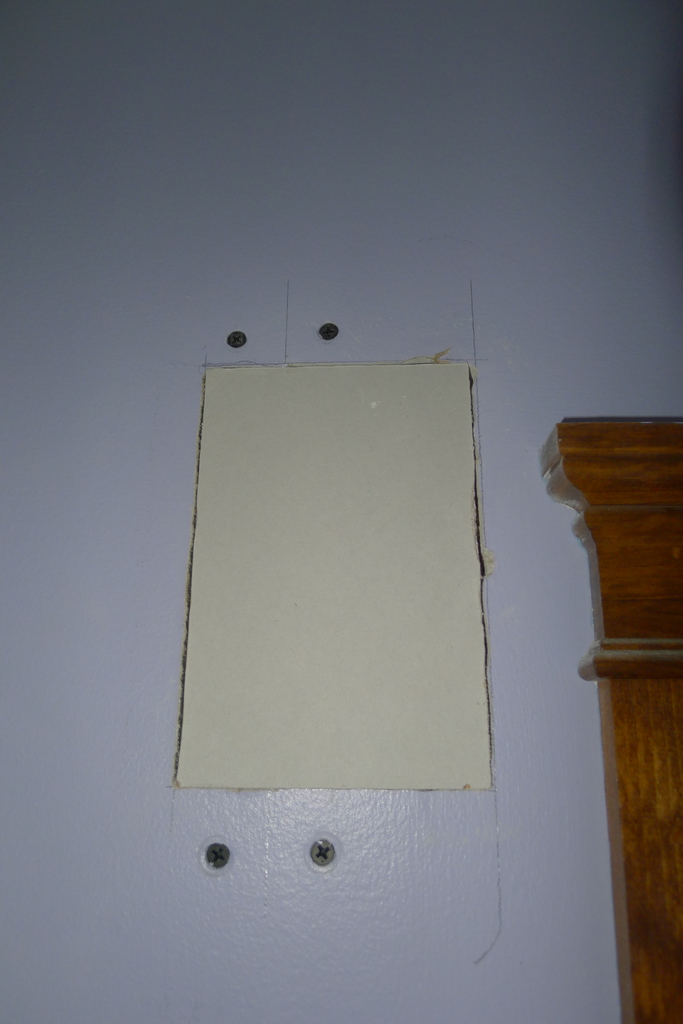
The pictures don’t show it, but I did tack the drywall patches in place with a couple of screws. No need to go crazy, just a couple will do. Anything we hang here will ultimately served a similar purpose.
Then it’s just straight up tape-and-spackle. For the patch on the right, I was able to cover the cutout entirely with 2 vertical strips of tape:

With the left side patch I first place 2 horizontal pieces of tape, allowed the spackle to dry and then placed 2 vertical pieces of tape:
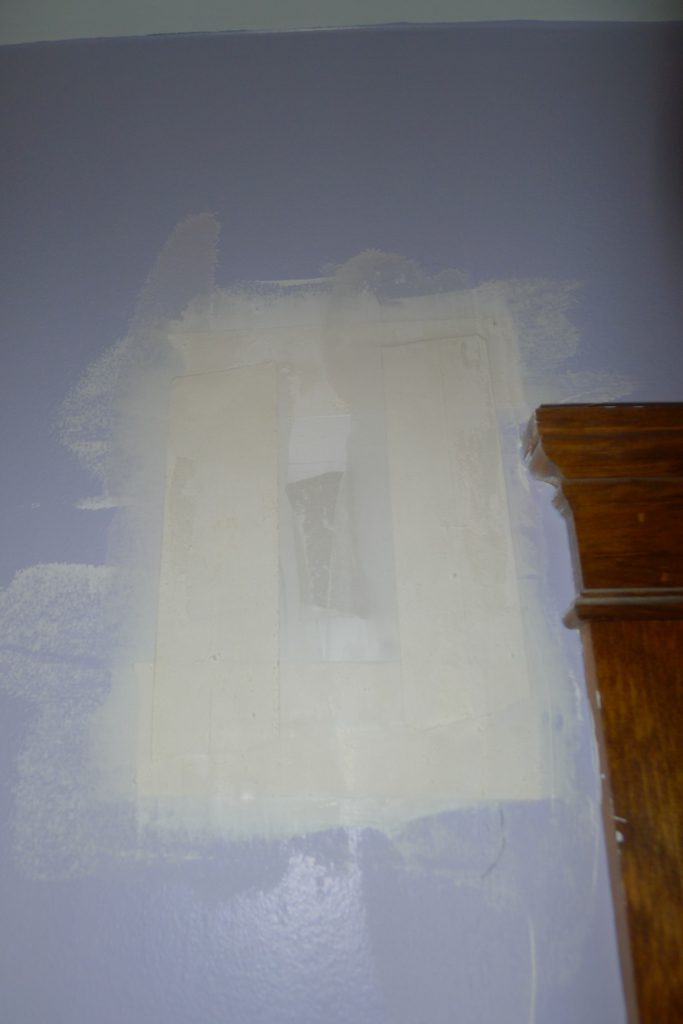
A more talented spackler could probably place all 4 pieces of tape at once and get it to look nice.
Now it’s just a matter of finishing the spackling and a little sanding.
This isn’t the most complicated drywall job in the world, especially since the pieces involved are small. For that small inconvenience, I won’t ever have to worry about wall anchors for the curtains again. Also, should the Wife decide she doesn’t like the curtain rod supports anymore, I can just patch the holes without worrying about the surrounding drywall being compromised. I could even install something into the exact same holes.
I’ve done this in quite a few of the rooms and it makes a big difference. In fact, if I was building a home, I’d probably just request the builders throw some kind of two-by up there between the studs on either side of the window to serve the same purpose. That way, I wouldn’t have anything to worry about when it came time for the window treatments.
Heck, doing that I could install a chin-up bar without worrying about compromising the wall. Not that I would, because doing chin-ups in front of a window like that would be silly. I’d just like knowing that I could, because there’s no way the curtains would be coming down, even with some runt hanging on them while playing George-of-the-Jungle.