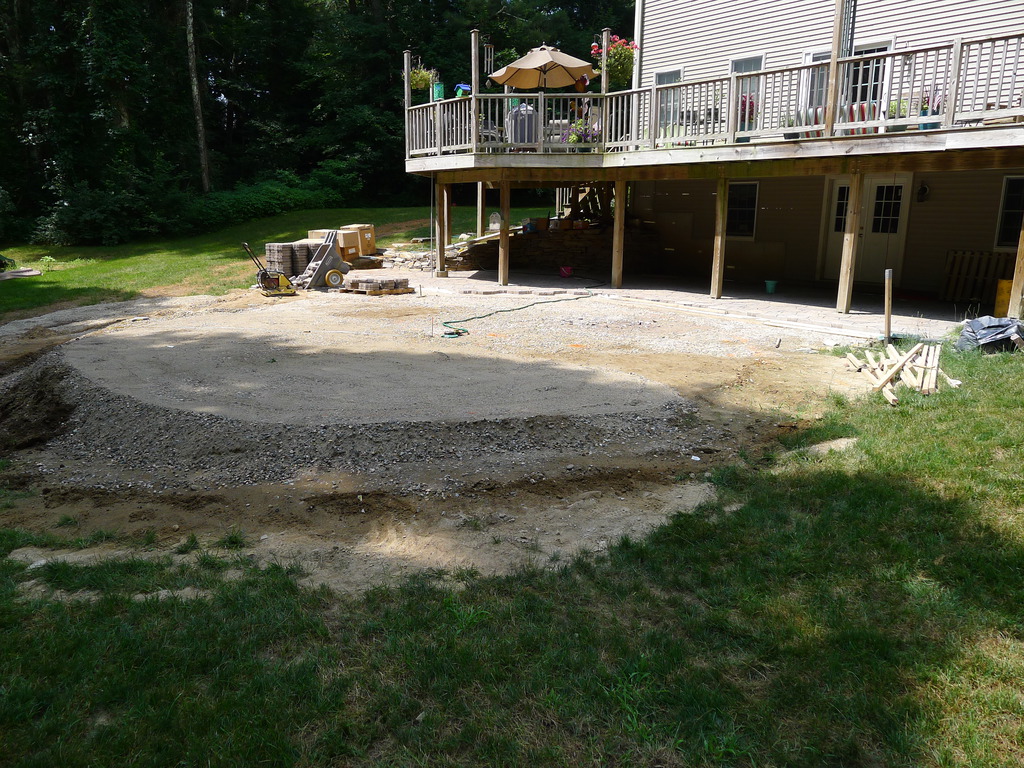
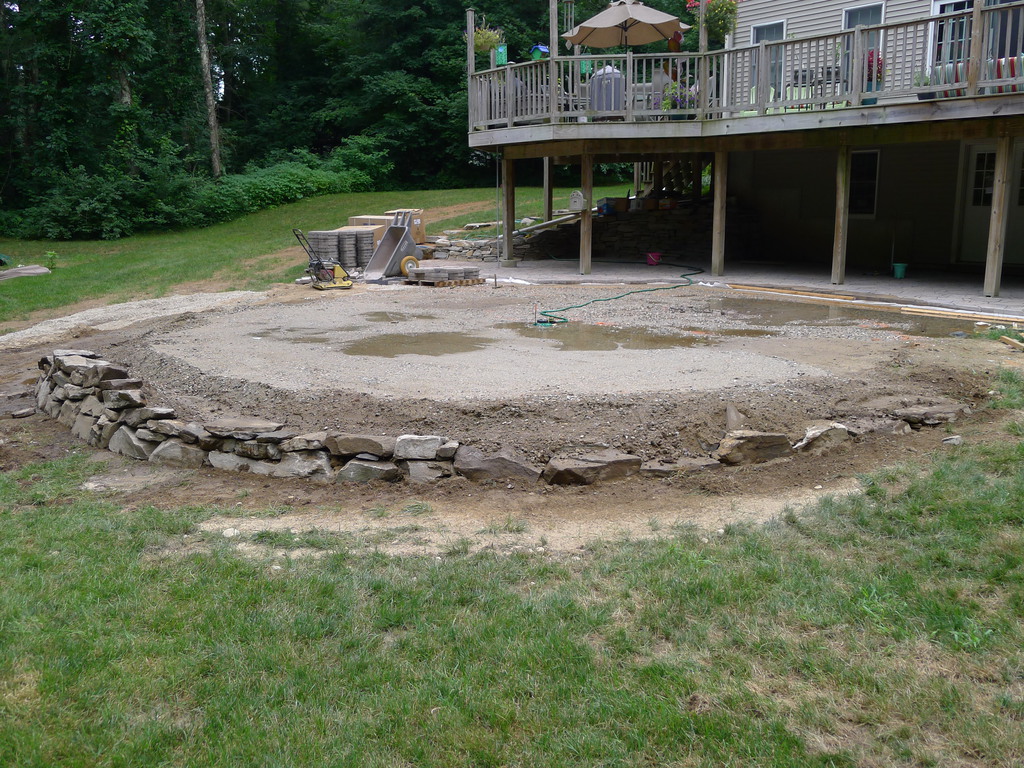
We had a pool growing up and I actually did a fair amount of the maintenance for it, especially as I got older. So when we got our own pool this Summer, I had a fair amount of practical experience with pool care. Still, there is a difference between being the laborer versus being the guy responsible. Then, I was the laborer. Now, I’m the guy in charge of the pool.
My first learning experience was with our sand filter. Growing up, we had a DE filter and it basically had 2 operating modes: filter and backwash. The new sand filter has filter, backwash, circulate, rinse, closed, winter and a couple others I’m forgetting. When I started running it I had it set to “circulate”, which seemed reasonable at the time because I hadn’t noticed the “filter” option. I realized something was wrong the first time I vacuumed and realized nothing was getting accomplished.
Filter issues aside, the biggest deal with a pool is chemistry. Namely, maintaining pH, alkalinity and free chlorine levels such that swimming is a pleasant experience. All three of those are, to a certain degree, interrelated. Arguably, the most important of those is the free chlorine level. That’s what keeps the pool clean and sanitary. The trick is, too much and the pool’s liner or filter life can be greatly shortened. Too little and the water is not that pleasant to swim in.
Fortunately, we got off to a good start and never had any problems, though I did have one minor issue that made me go to the web looking for answers. As part of our “kit” we got from the installer, our filter has a chlorinator. Within the first couple of weeks, I went through 2 cartridges of chlorines tablets for the chlorinator. I asked at the store if that was normal and they indicated that a cartridge should be lasting me a month or so.
So, I started my search and came across Trouble Free Pool, which is full of useful information about pool care and chemistry. Since I wasn’t having any real water issues, mainly a chlorine level issue, I opted to try the advice from there using liquid chlorine to maintain appropriate chlorine levels. I haven’t spent any money on the fancy test kits recommended there(I use test strips), but I’ve saved myself some money not buying expensive chlorine packs while still maintaining crystal clear water.
As for Trouble Free Pool, they’ve got a wealth of information there about pool care and the forums are a civil and an informative place to find help for dealing with problems of all sorts. It’s definitely worth a look see for pool related issues.

