Progress has been slow, but steady on the armoire. The sides glued up without incident. Completing that portion allowed me to move on to the back. And working on the back brought the realization I’d made a mistake in my wood quantity calculation.
I’d originally thought I’d use tempered masonite for the rear panels. I, in fact, did exactly that for the lower portion. But in working on the back for the upper portion, it occurred to me there’s a major difference between the back of the lower half and the back of the upper half of the armoire: the rear panel of the upper half is visible. (The lower half consists of 3 drawers, so the only way to see the rear panel is to remove the drawers or get behind the whole thing, niether of which is easy.) Tempered masonite is fine to use as a panel, but not when it will be visible in a natural wood piece of furniture.
Fortunately, when I’d purchased the wood, I got more than I would need on the grounds that I’d just use it for another project down the line. Guess that project down the line has arrived.
After the jump are some pictures.

The sides assembled well. They’re roughly 42″ high and 26″ wide. The mortises seen here are for the stretchers that will form the cabinet. The long groove is where the rear panel will fit when it is fully assembled.
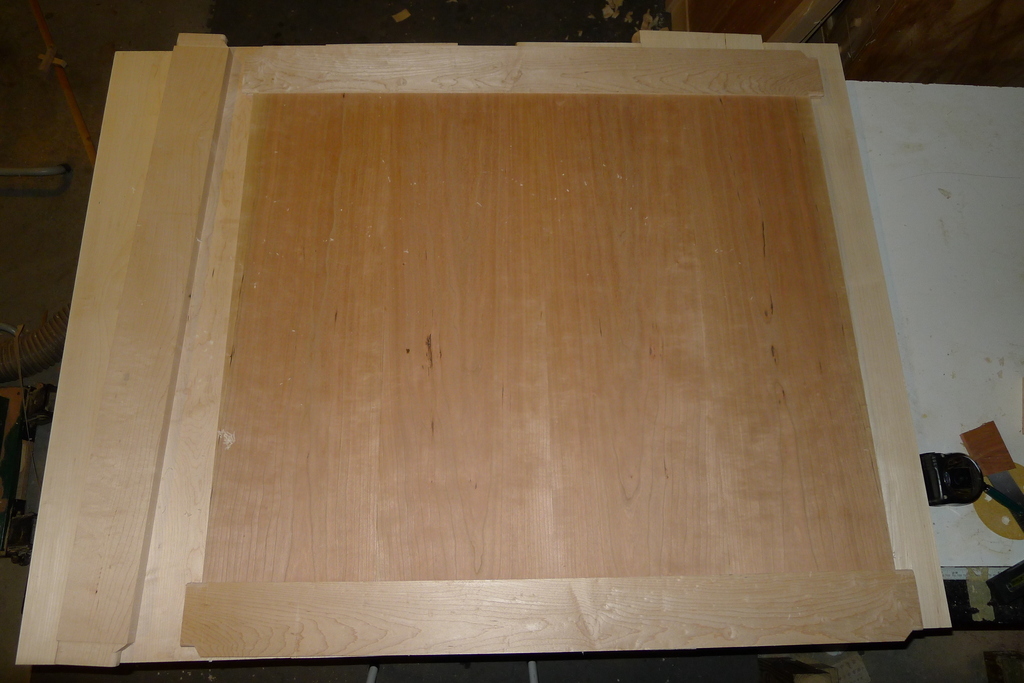
Here’s the back, fitted into the upper and lower rear stretchers to prevent it from warping. The panels are bookmatched, with a little twist. The panel is 41″ wide, so I had to glue up 4 boards. The 4 boards consist of bookmatches of 2 pieces of wood from the same board. Rather than gluing each bookmatch together, and then gluing those toegether to form the final panel, I placed the nicer looking bookmatched pair in the center, then glued the other two on each side of that. So the final effect is a large bookmatch for the whole panel.
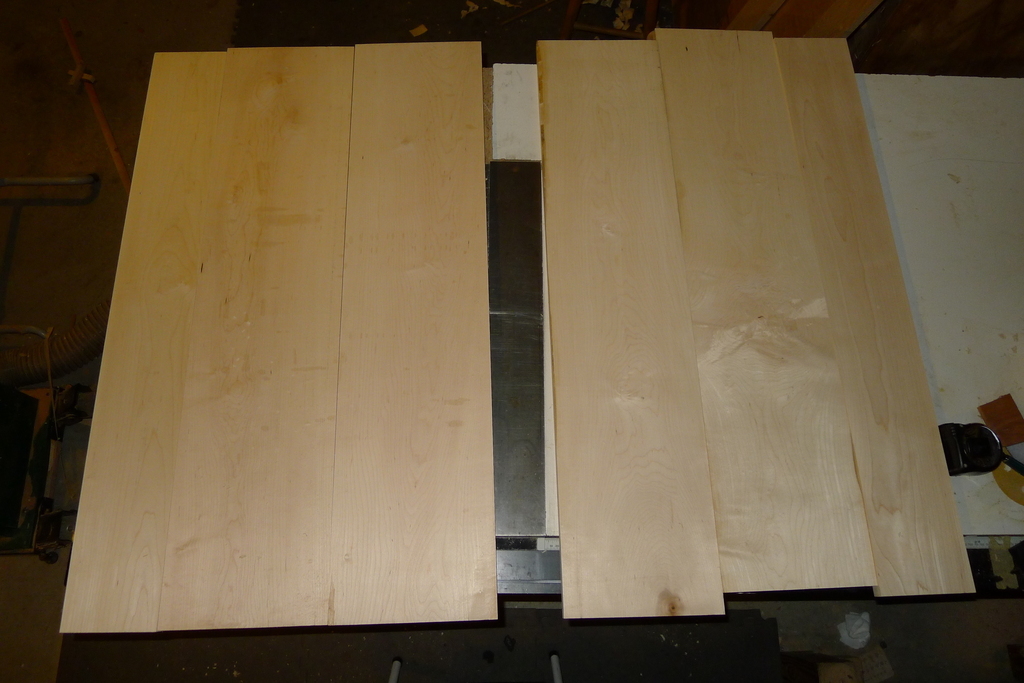
The wood for the shelves. Spectacular, huh?
Mainly, it’ll be a glueup exercise to make the boards wide enough. I’ll also have to afix some supports in the sides. That’s where the action will be before I can finish the cabinet assembly.
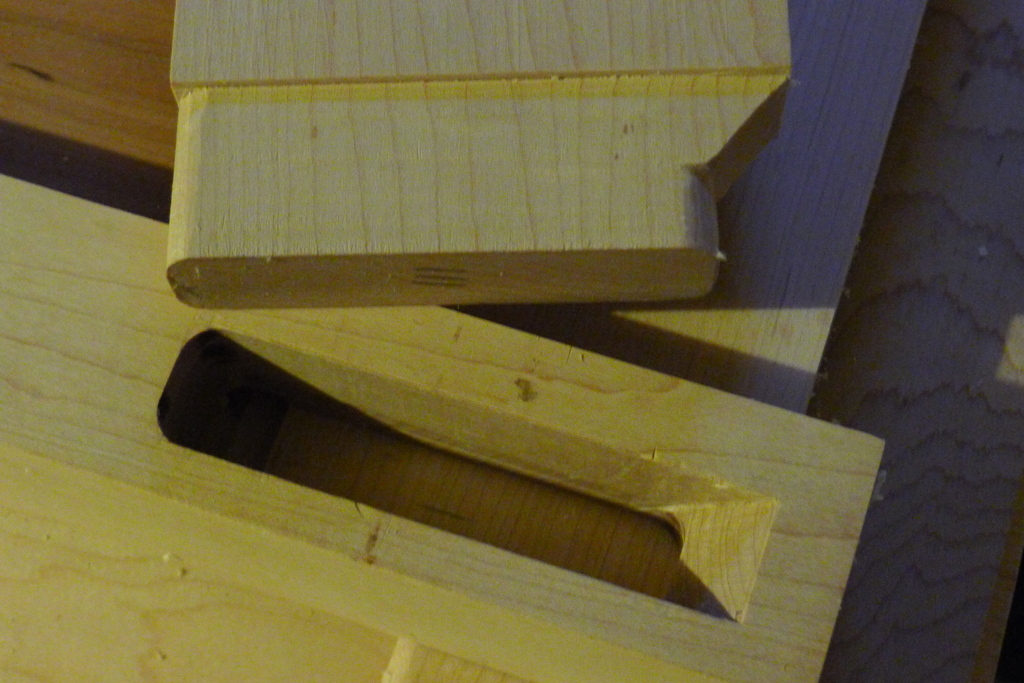
Here’s something interesting. Because the mortises in the posts are close to the ends of the post, there’s a danger that the posts could split. To counteract that weakness, I haunched the tenon and corresponding mortise. All 6 pairs are like that. The 3 line marks on the end of the tenon are a marker so I know which tenons go in which mortises.
2 replies on “Armoire Update”
Looks like you’ve thought ahead and made adjustments to correct any issues BEFORE they become a problem … GOOD WORK ! !
So far, from what I can see, everything is well thought out. Looks good. Make sure you do good job on the final finish to set it off.