Categories
DIY Patio

Patio Update

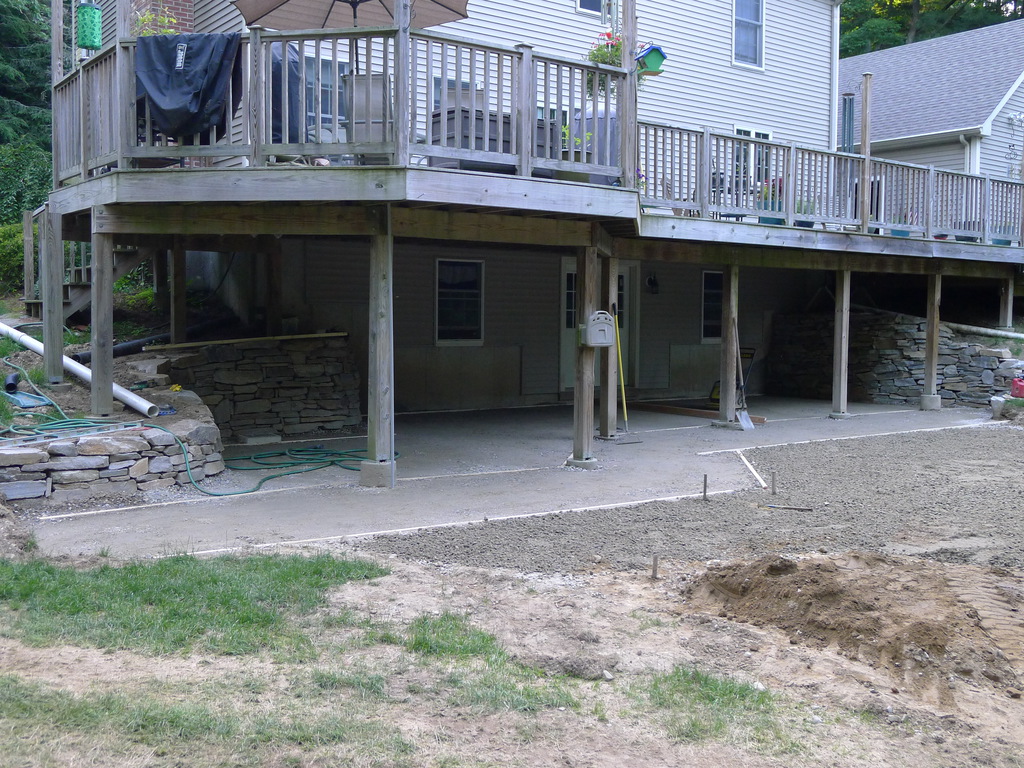
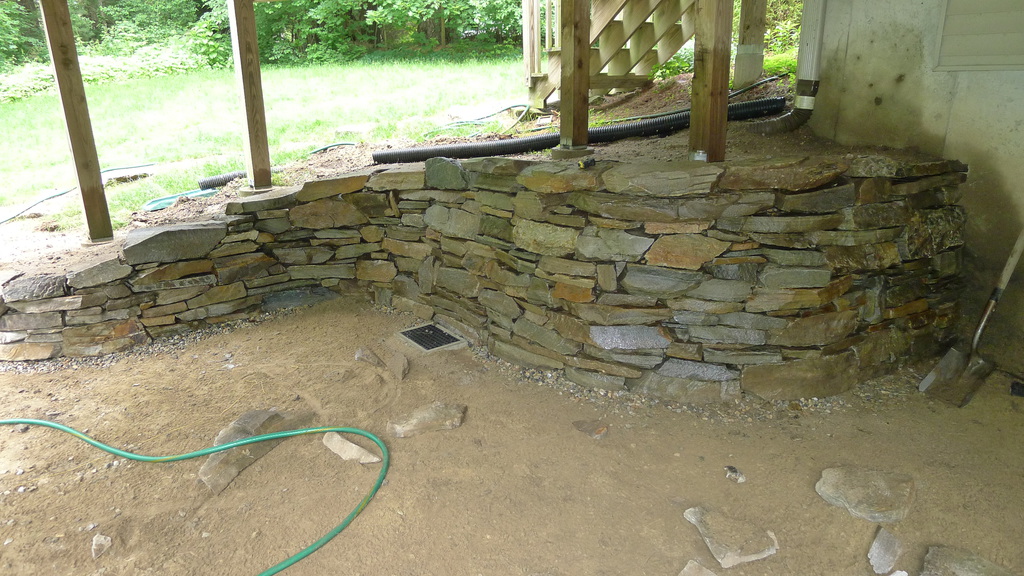
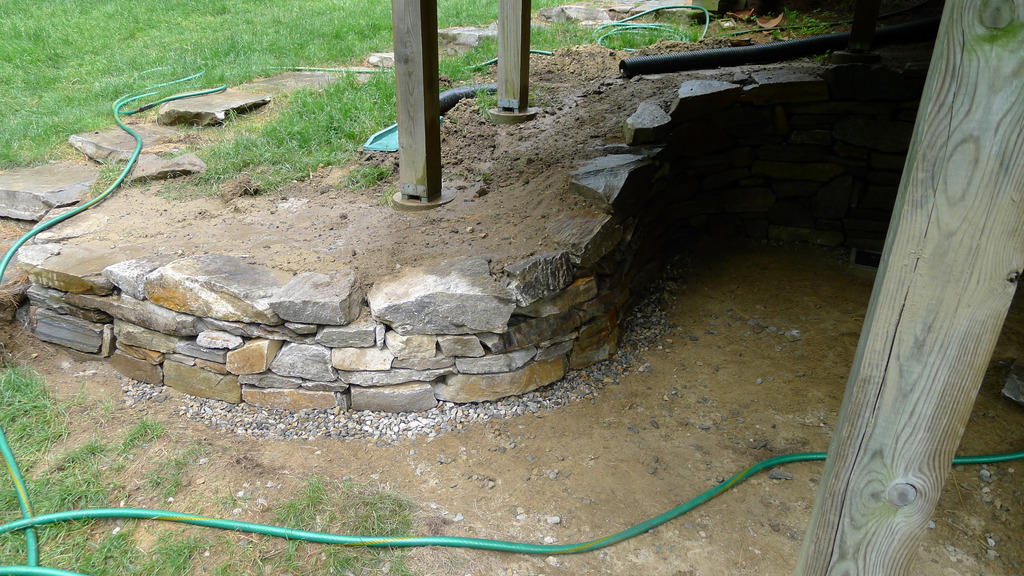
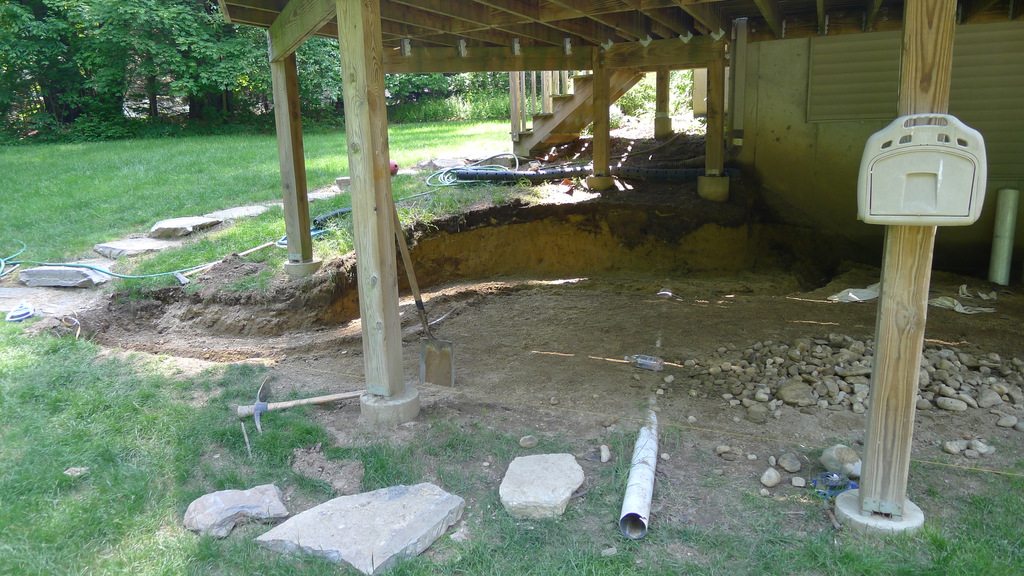
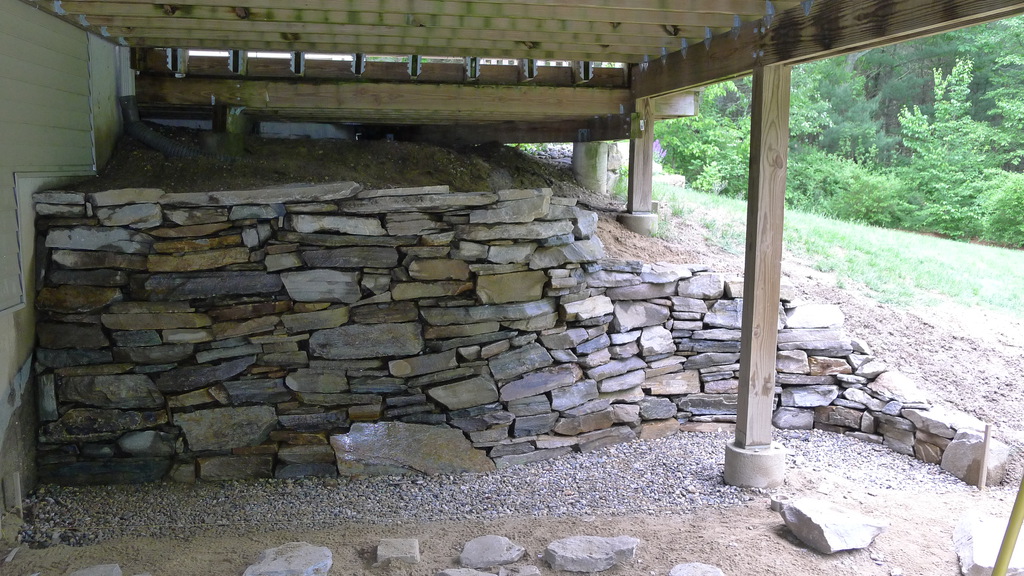
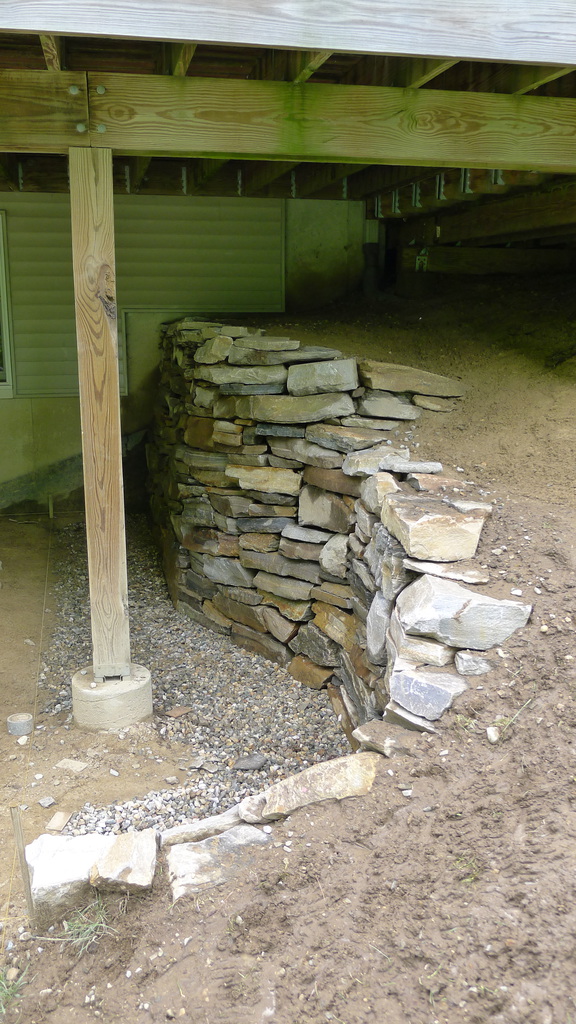
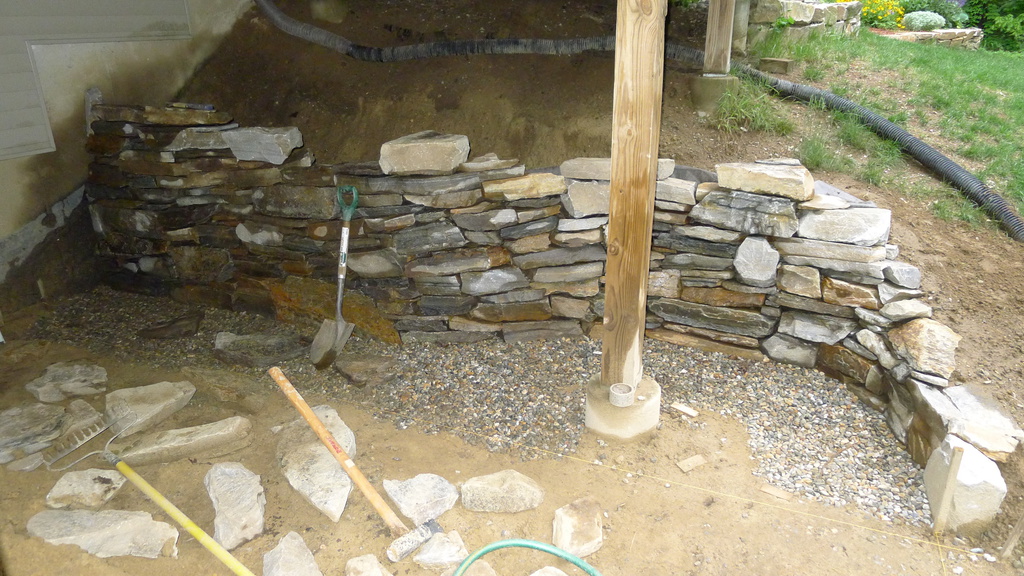
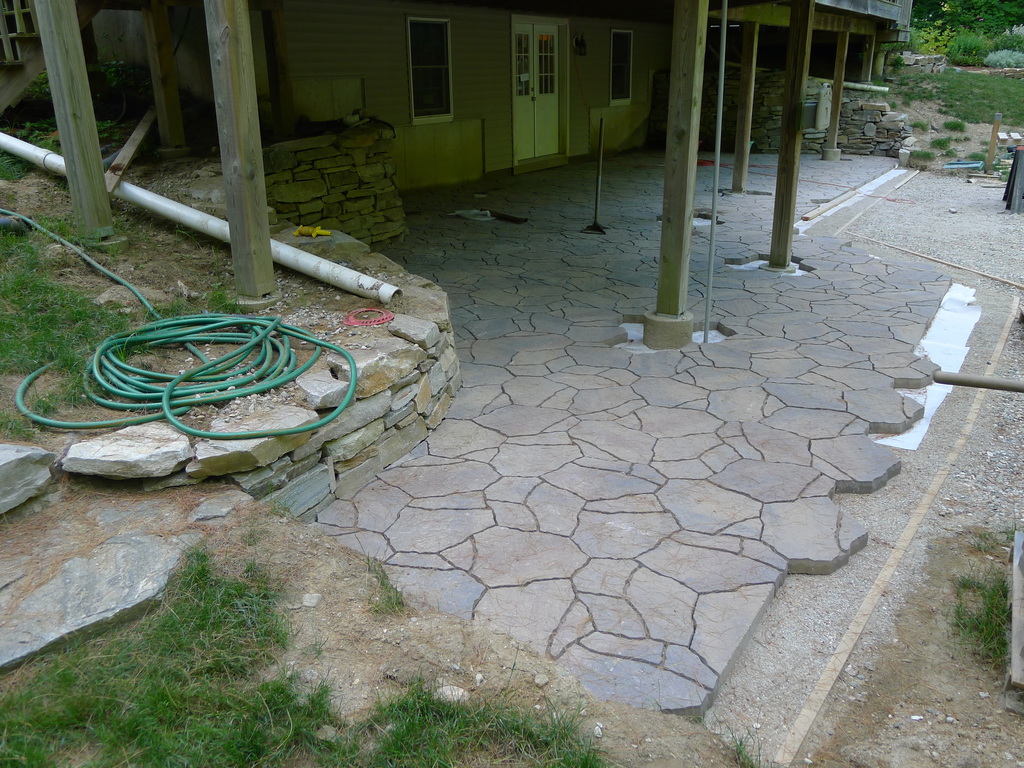
All of the field pieces are laid and now I only have cuts around the post piers. The field had been completed several days ago, but I only finished all the cut-in work around the stone walls today. Here’s a flavor of what I was dealing with:

Just follow along the line of the wall and around the drain to get an idea. Some of those took a lot of work to get right. When the cuts weren’t difficult, getting the piece in was because of the combination of sand and stone next to the wall that I couldn’t skreet. I had to do that part by hand, which was tedious.

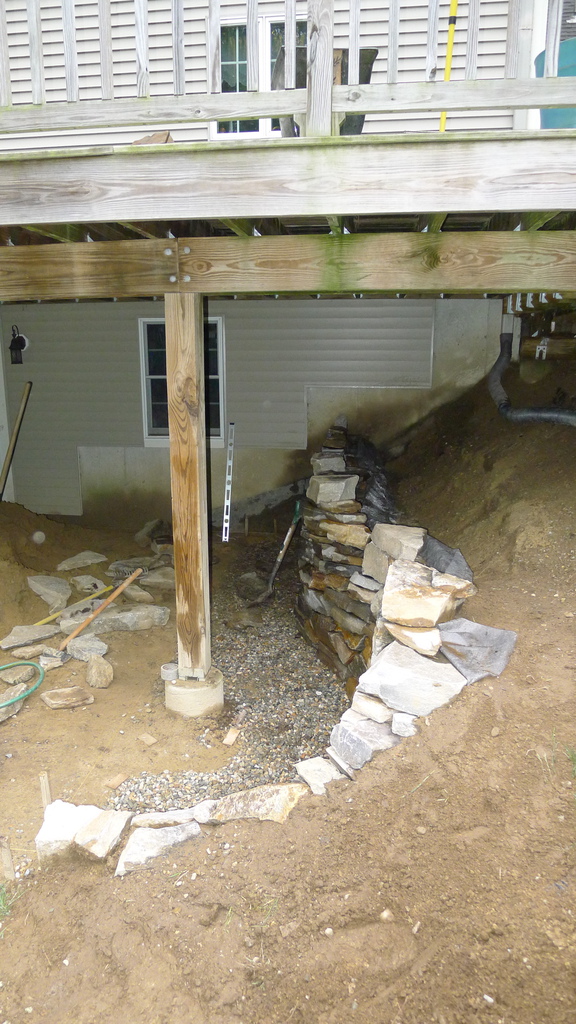
I would have completed the cuts around one of the piers today, but I was going to make the final adjustments to the piece and when I set it down, the piece cracked into two pieces. I was so disgusted I decided I was done. Not the best note to end on, but I wasn’t going to spend another 30 minutes cutting the arc again.

Cutting pavers is a miserable job, especially in this kind of heat. By the end of the day, I was caked in a layer of paver dust from head to toe. Thankfully, my Dad had me a breathing mask for just this kind of work. I was also outfitted with eye guards and ear plugs, making it a thoroughly unpleasant way to spend a day.

Be that as it may, a lot of work is done and the end is in sight.

Categories
DIY Patio

Waiting for Pavers

Almost all of the prep work is complete. All that’s left is the layer of sand that the pavers will rest on. That’s arriving today thank to our paver rep pulling some strings for me. The pavers arrive Monday- not sure when. This is the first picture where I think there is a feel of what it’s going to look like when the project is completed.

I noted before that actually building the walls took less time than all of the prep work. That’s going to hold true for the pavers as well- but even more extreme I think. Unlike the stone for the walls, the pavers are made to go together a certain way, so I’ll just set them and go. There will be details of course, but they’ll get taken care in due time. The majority of the pavers will be done within a day I’m willing to bet.

Categories
DIY Notweet Patio

Wall 2 Completed

I can’t get a good picture of the whole thing, but these 2 should give the general sense of it. Having completed this one so soon after the first, I think it’s safe to say no two walls go up the same. Obviously, the shape changes. It’s more than that though- the material changes, the accessibility to the material changes (in other words, rocks on the top of the pile tend to get used first, rocks at the bottom last), plus the previous wall influences decisions about what’s acceptable and what isn’t. In this one, I used vertical rocks in a number of spots, versus the first I only did that in a couple of spots against the foundation wall.

That would be stage 2 completed. On to stage 3, which is the one I’ve been most anxious for.

Categories
DIY Notweet Patio

More of the Same- But Different

Completion of the other wall is only part of the project. Now, I get to do the same basic stuff on the other side. This wall will be easier in some ways, and more difficult in others.

As should be obvious from the excavation, it will have more curves to it. This will help to increase the patio area quite dramatically. Really, under the deck looks bigger already, excluding for the two massive pile of dirt I have in the center. But where it has the “S” curve feature, it won’t be nearly as tall- standing only about three-and-one-half feet at it’s tallest.

Aside from that, it’s more of the same. The next step is to dig down about a foot, line it with rip-rap and then fill with stone. Then I get to start building and backfilling.

Oh, almost forgot. I’ve also got to do something with that drain pipe. Don’t worry, I’ve got plans for it.

Categories
DIY Notweet Patio

Stage 1 Complete

I tried to find a suitable quote from A Song of Ice and Fire but was unable to do so. So, suffice it to say, this wall is complete.

By the end, even the kids wanted to help. Mostly, I think, because they were able to climb up onto the top of it and “play.” I had them grading the backfilled area. If nothing else, it was an initial active load test to make sure the wall is solid. It seems to have passed with flying colors.

Next up, the other side of the house, where the next wall awaits. That one won’t be as high as this, but it will have more curves and, I think, be a little longer. I’ll enjoy this one for a day or so before starting the next one.

Categories
DIY Notweet

Wall Updates

The latest status on the wall. It’s taken shape nicely. I’ve got about another foot to go at the house side and I’ll taper it into the lower side as it comes around. Stone wall building is definitely a discipline where focusing on the details can get you in trouble.

The probably deserves a bit more exposition. Details are important in every project. In fact, the details make the difference between a successful project and an unsuccessful project. The trick is knowing which details are important.

In the case of stone wall building, I think a natural detail to pay attention to are the joints between rocks. This details lends to hunting for only stones of a certain size, shape and flatness. The problem is, those particular sorts of stones, at least in my project, are rare.

It turns out the more important detail to pay attention to is how it sets on the wall. The shape is almost completely irrelevant because other rocks can be used to build around the odd shape. Take a look at the picture closely and there are quite a few odd shape rocks. They end up being an accent, even though the rocks around them don’t necessarily fit exactly. In fact, the overall effect of the varying rock sizes and shapes, along with the gaps (assuming they aren’t completely egregious) makes for and overall nicer look.

The back filling has been moving along as well. I don’t think I have to worry about collapses so much anymore. I’m using landscape cloth over the stone filler to keep the dirt and sand from filtering down into the stone. That should help with drainage over the life of the wall. Which better be very long.

Just for the stone, I’ve moved about 12 tons of material I figure. I’ve gone through better than half wall stone and 5 tons of the 3/4 inch stuff. Still got a few tons to go as well. Then it’s on to the stage 2.

Categories
DIY Patio

I Rock

The beginning of phase one of the patio project has, uh, begun.

The idea is pretty simple. We’ve got a lot of space under our deck that would make for a nice sitting area. Until now, it’s just been a pit. That is going to change rather drastically over the next several weeks. We’re putting in a paver patio down there.

But before I can lay any pavers, I need a couple of retaining walls. For one, they’ll increase the usable area down there because otherwise the slopes of the ground eats up a sizable portion of the available space. The other benefit of the retaining wall is it will provide a nice border to build the pavers out to.

I’ve dug the hill out here by hand. Yes, I did that with a shovel, an adz and a wheelbarrow. I’ve pull some finished level lines that aren’t visible in the picture, but I’ve dug down about 12 inches and then put a layer of rip-rap down. The edge of the wall won’t actually be lined up with the edge of my digging here, rather it’ll be back about a foot, thus why there’s a void between the edge of the digging and the rip-rap.

That’s the pile of 3/4″ stone I’ll be using to create drainage for the wall. Tomorrow’s job will be filling the hole with this stone. I’ll also be back filling the wall using some of this stone as well. Whatever it takes to keep the amount of water behind the wall to a minimum.

And here’s what the wall will be built with. That’s about 10-ton of stone. It all looks gray, but there’s actually quite a bit of color in it- orange and red to be exact. Some of those rocks go about 150, maybe 200 pounds. Those are the ones I’ll want to get things started with. Best eat my Wheaties tomorrow for breakfast.

Oh, and the digging isn’t done yet. It’s just done enough that I can start laying some wall now. The wall is going to continue out from under the deck and create a semi-circle going up the little hill there. The Wife can do some more planting or something there when it’s done.