Polymeric sand.
In two words, that was my problem with finishing the pavers. That’s the short explanation. The long explanation is … considerably longer. And follows.
First, a quick education. Polymeric sand is special sand with an acrylic polymer that when exposed to moisture, activates and forms a pliable matrix, essentially making the sand a solid mass. A simpler explanation is that polymerized sand is to pavers what grout is to tile.
Polymerized sand is highly sensitive to moisture. There doesn’t need to be a steady stream or puddle of water, just dampness in the pavers is enough to activate the polymer.
So, yesterday was a beautiful day. Sunny with a few clouds with reasonable humidity levels. Unfortunately, it followed a couple of days of heavy persistent rain. The pavers were soaked. A fact that was made quite clear over the course of the 13 hours I spent working on them yesterday. For giggles, I’ll note that I was told it would only take a few hours to get complete the sand portion of the project. If only.
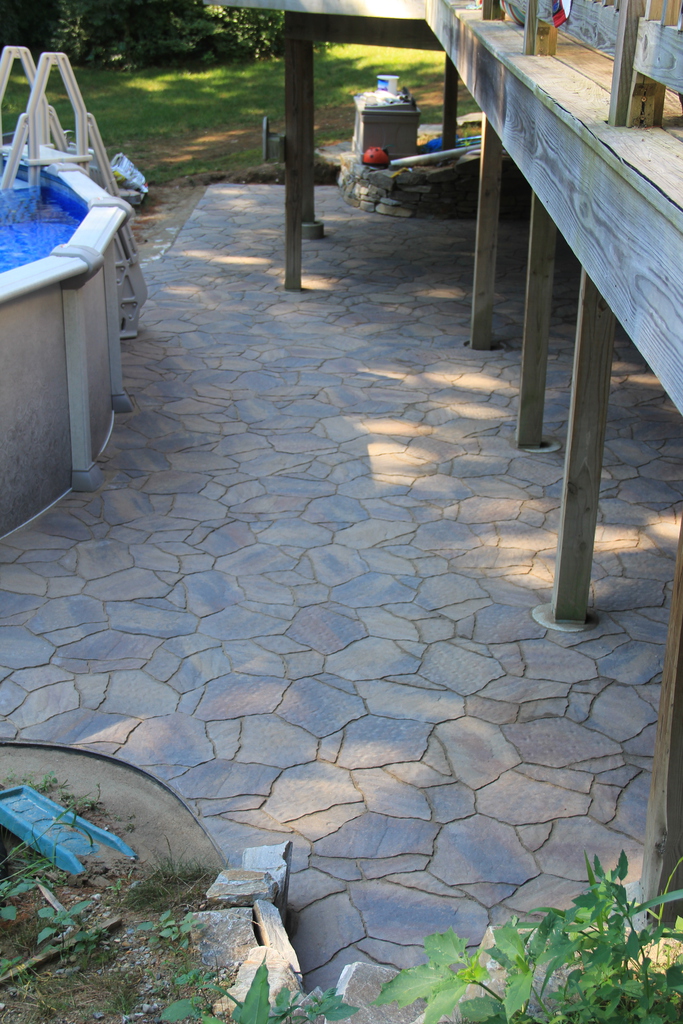
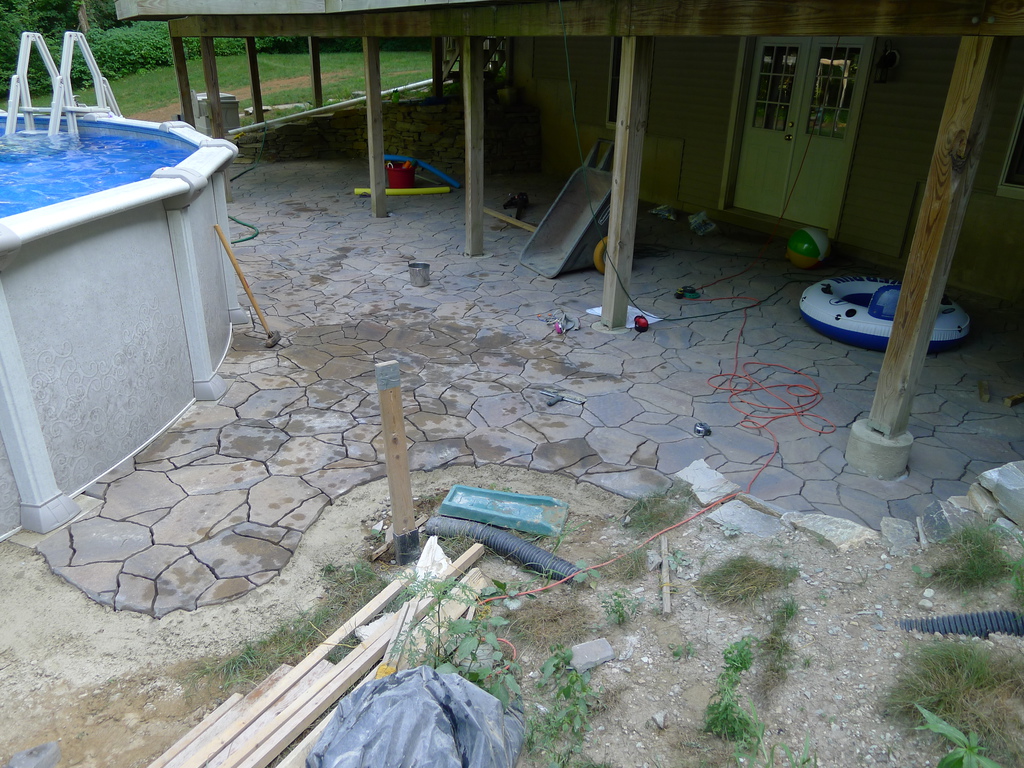
The pavers next to the pool dried first, a not inconsiderable amount of area, so that’s where I began spreading sand. I assumed that the rest of the pavers would dry out as I worked. I was only partially right. More pavers did dry out, but only those that saw persistent Sun. The pavers sheltered by the deck continued to linger with their dampness.
I started around 9AM. I put all the edging around the exposed portions of the paver edges. I then started sanding the area next to the pool, which was exposed to a steady diet of Sun and very dry. As I worked my way along, more of the pavers dried, but spotty patches of dampness still remained. With the rep’s warning that “Make sure it is ABSOLUTELY dry before spreading this sand…” echoing in my mind, I decided to try spreading it over a small area where there were a couple of damp spots. Just the dampness was enough to activate it. So I was stuck at that point.
I decided to compact the area that I’d done. I worked through it, hoping in the meantime the remaining damp areas would dry out. I started running a fan over those areas around 1 o’clock. It helped, but there was still a lot of dampness. Around 5 o’clock, I decided it was time to take more drastic action.
I pulled out a hair dryer and went to work.
It worked, but now time was against me, as well as a number of other factors. I still needed to finish spreading the product, compact it, re-spread it, re-compact, finish spread and then wet it. I now only a couple hours or so until I had no sunlight. Trying to think ahead, I checked the weather and our local forecast was showing the possibility of a thunderstorm in the early morning. With the humidity, I also started thinking that morning dew would screw me up.
In short, all the factors I could think of lead me to believe I had to finish it last night. So I continued working.
One thing about spreading sand over pavers that is hard to appreciate is the film that coats the pavers. The instructions on the bag and my inexperience with the product led me to believe I needed to clean the pavers thoroughly. I could never completely remove that haze from them though and finally, around 9:30 last night having filled, compacted and swept it several times over, I decided it was time to start wetting and hope I could wash the sand off.
By that time, I was working by flashlight. I had a porch light to help, but none of it was enough to really allow me to see the state the pavers were in. Making matter more difficult, the acrylic caused a foaming in the water which would have made it difficult to see the sand in good lighting conditions, let alone what I was dealing with.
By the time I’d finished wetting the pavers, it was almost 11 o’clock. I could still feel the grit under my shoes. But there was nothing more I could do. I couldn’t see the grit and couldn’t tell if I was actually moving it or not. Exhausted and sore, I finally wrapped things up for the night. Thus, my disappointed posting from last night.
A slight tanget- polymerized sand really sucks. I mean really sucks. The clouds of it from sweeping stick to sweaty clothes and skin. It goes up your nose and creates weird boogers. It gets in your hair and acts like a nasty mousse. There is literally a layer of muck on you after working with it.
This morning, I woke up and came down around 6:30 to see what kind of mess I had to deal with. As I’d suspected, I still had tons of sand and grit on the pavers surfaces. Also, as I’d suspected, it looked awful. Pavers that had dried had a haze that completed obscured their real color pattern.
I wasn’t without luck though. The overnight humidity had kept the pavers drying and sand from setting completely and I quickly figured out I could still clean the pavers using one of the spray settings on the hose nozzle. So I set to work with that job.
It was slow.
I essentially had to go paver course by paver course, washing each paver and pushing the sand down slope. About halfway, I had accumulated so much extra sand that I was having difficulty pushing it with the water from the hose. I then had to resort to a combination of sweeping it with a rubber broom and pushing it with the hose water.
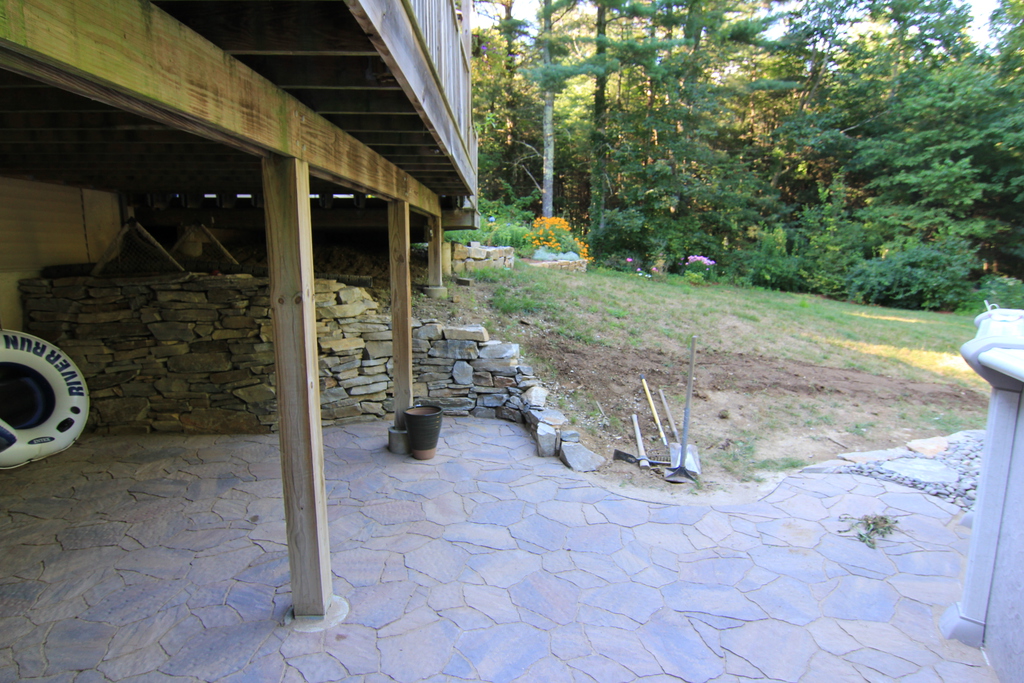
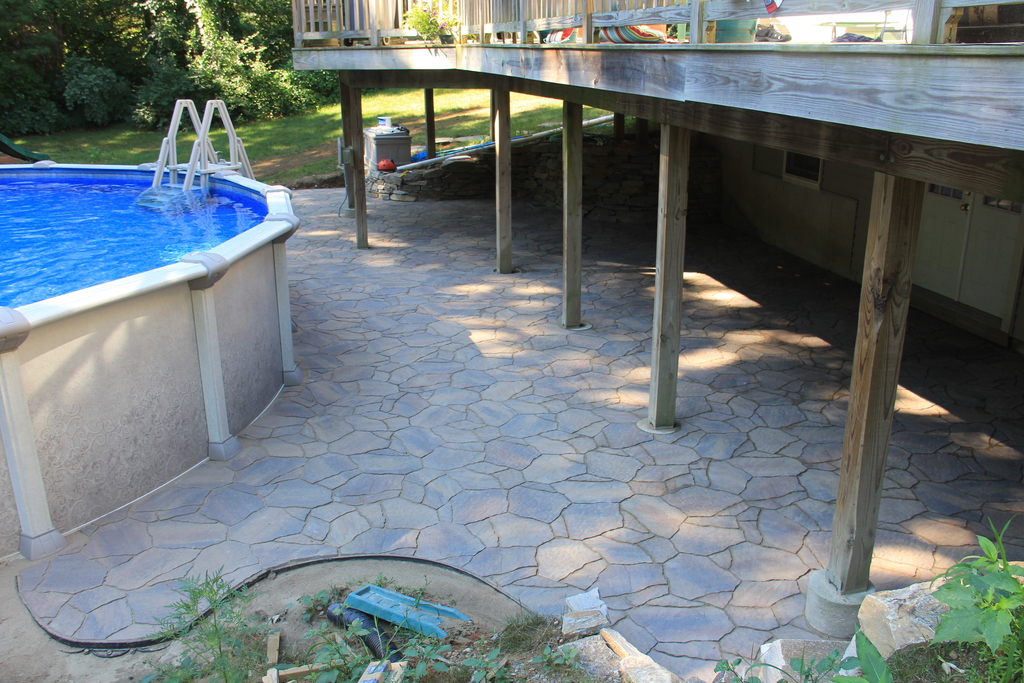
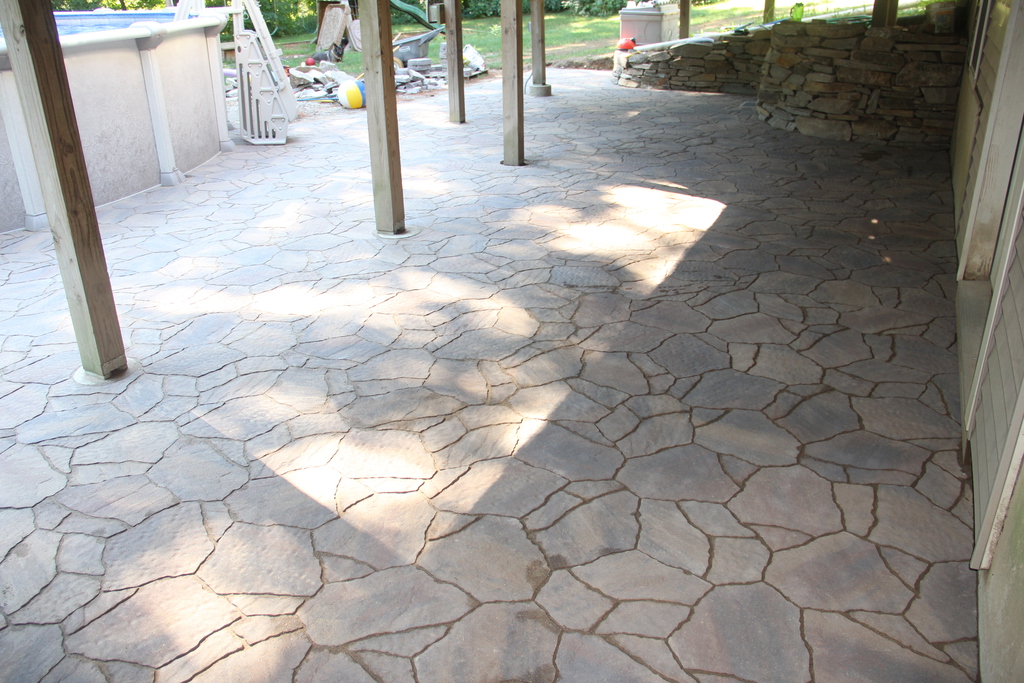
The process was tedious, but it yielded results. I was able to walk on the pavers without feeling the grit under my feet nor the tackiness from the acrylic material. It ended up taking me several more hours and repetitions of sweeping, but I finally finished up earlier this afternoon. Pavers that have dried now look proper, without the haze from the acrylic. I’m not completely happy with the edges by the walls, but there’s only so much I can do there. Water tends to pool and it’s difficult to get the sand to flow away from those spots.
It never did rain this morning. Knowing that might have saved me a lot of work last night, but I wasn’t willing to gamble. Probably due to impaired judgment from breathing polymerized sand. Ironically, letting the sand sit wet for several hours overnight seemed to work in my favor. The surface sand could still be removed, but not at the expense of the joints that I wanted filled, so I was able to avoid gouging the sanded joints.
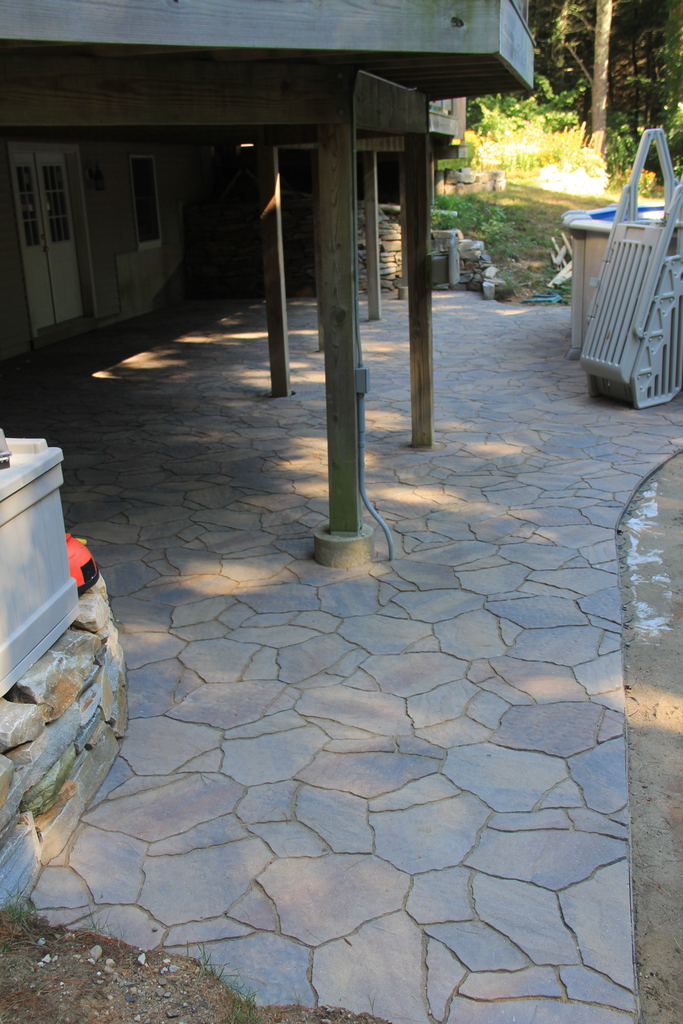
Whatever mistakes I made, the main thing is I was able to make it work and satisfactorily complete the project. Last night, I was concerned I might have to redo the sanding. Tonight, I’ll rest easy knowing I’m all done. A pleasant change of circumstance. I’ll post pictures when things have dried out a bit more.