It turns out installing tile is a lot like every other project I do. Tons of prep work followed by 5 minutes of payoff work. My Dad and I spent the day installing some mosaic tile for our kitchen backsplash to replace the previously painted drywall.
The hard part was deciding on how to deal with the pattern. It’s hard to explain without seeing the actual tile sheets, but each sheet covers a square foot, just not in a square. Because of the mosaic pattern within the tile sheets, the edges are designed to interlace with successive sheets so that it’s virtually impossible to tell where one sheet ends and the next begins. The edge forms a pattern that repeats every 6 courses of tile within the sheet and in order to maximize tile usage, we took some time to figure out how to work with that.
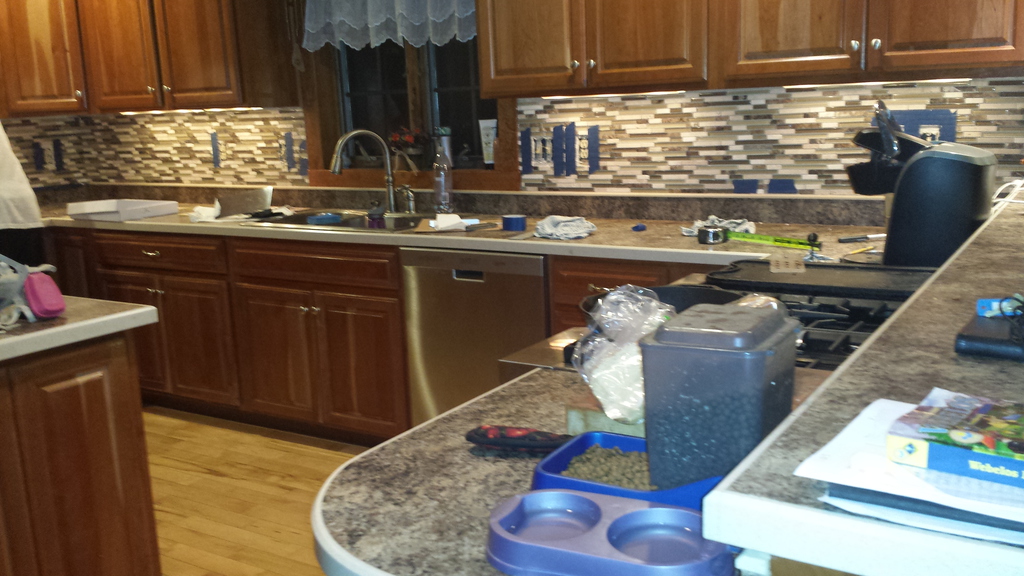
Once we figured that out, we started cutting. Since it’s a kitchen, there are light switches and outlets all along the wall. All hail the electrical code! Actually, it’s nice when you’re using the kitchen, but cutting tile around all those outlets and switches is a PIA. We had to pull the individual tiles off the sheet to cut them. We managed not to screw up a single cutout for the outlets, certainly that defies some law of probability.
So after all the layout stuff was finished, we’d butter the wall and place the tile which, as I noted earlier, is the payoff part and took less time than any other step in the project.
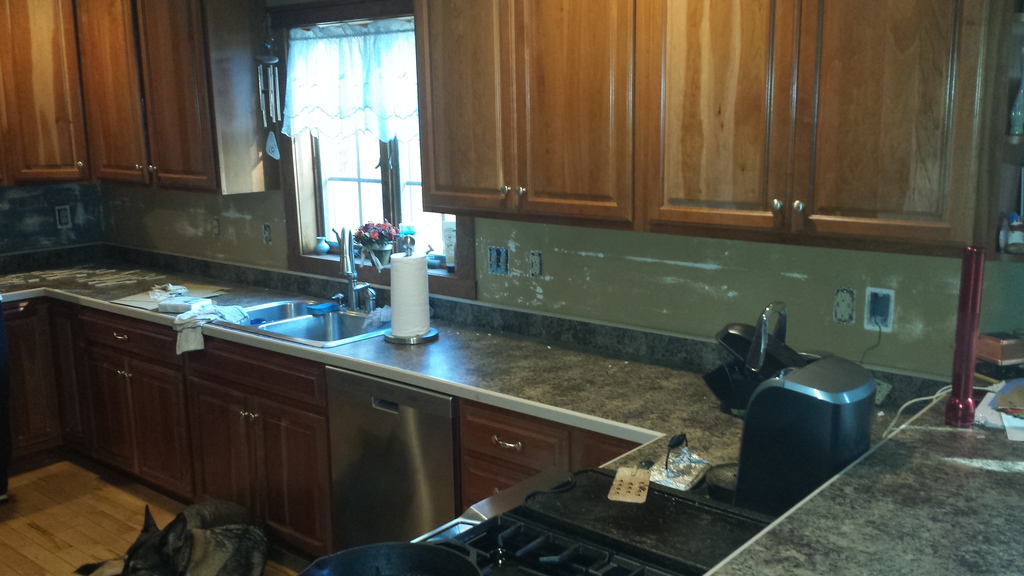
So, with all that said, here’s the before and after results:

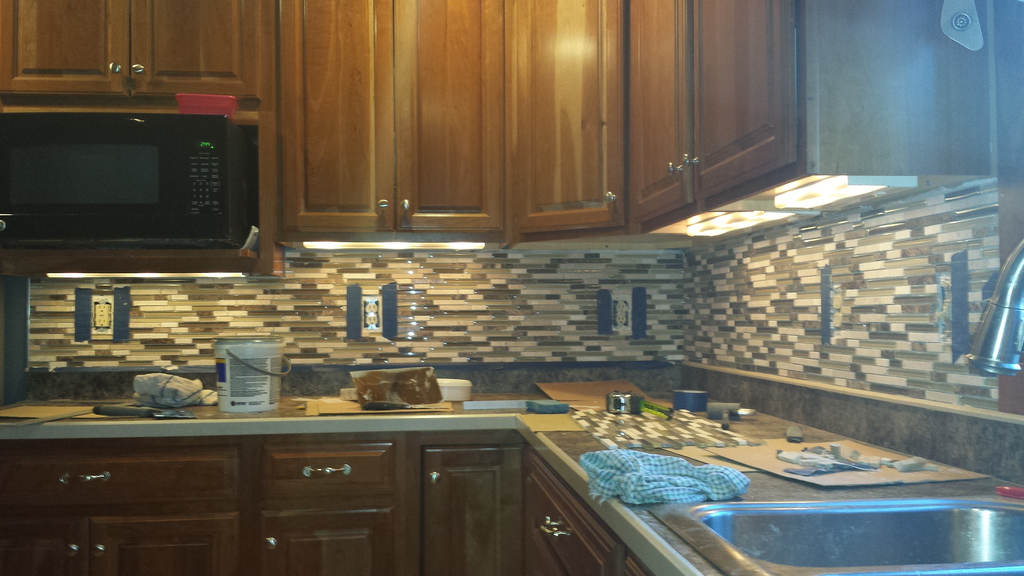
Now, they get to sit for a bit while the mastic sets. Then, the grout job begins, probably on Sunday.