Now that it’s basically completed, I thought some before and after pictures for the patio area were in order. My first pictures were taken on May 1st, while today is, well, today. I wasn’t able to work every day on it during that time between weather, vacations, trips and other duties or logistical delays. I’d guess I have about 250 hours into it as of today.
First, a wide view:
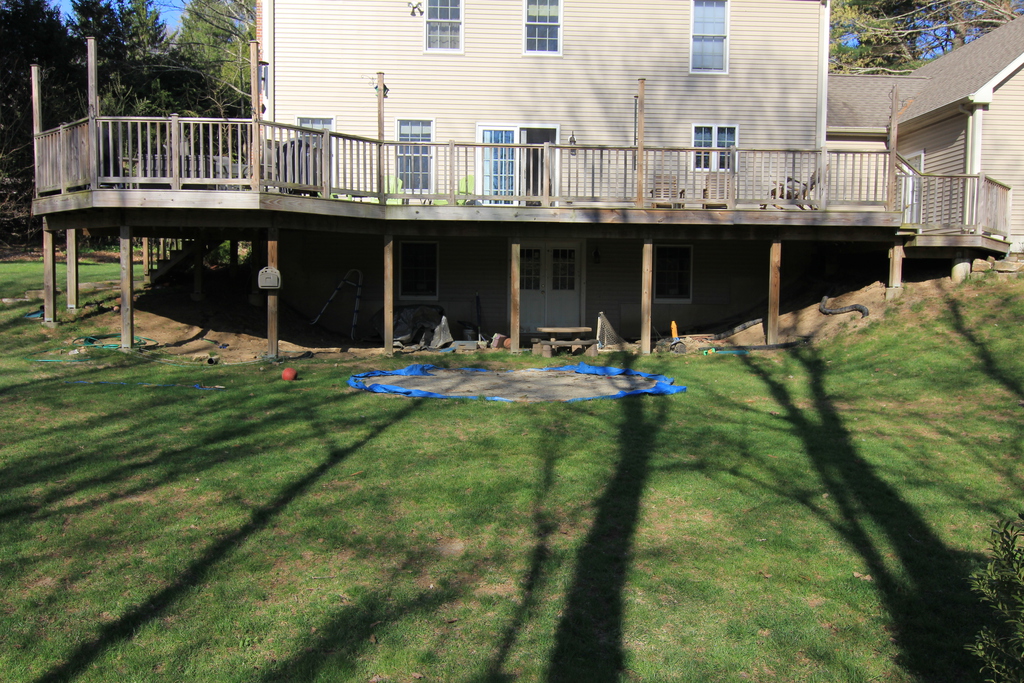
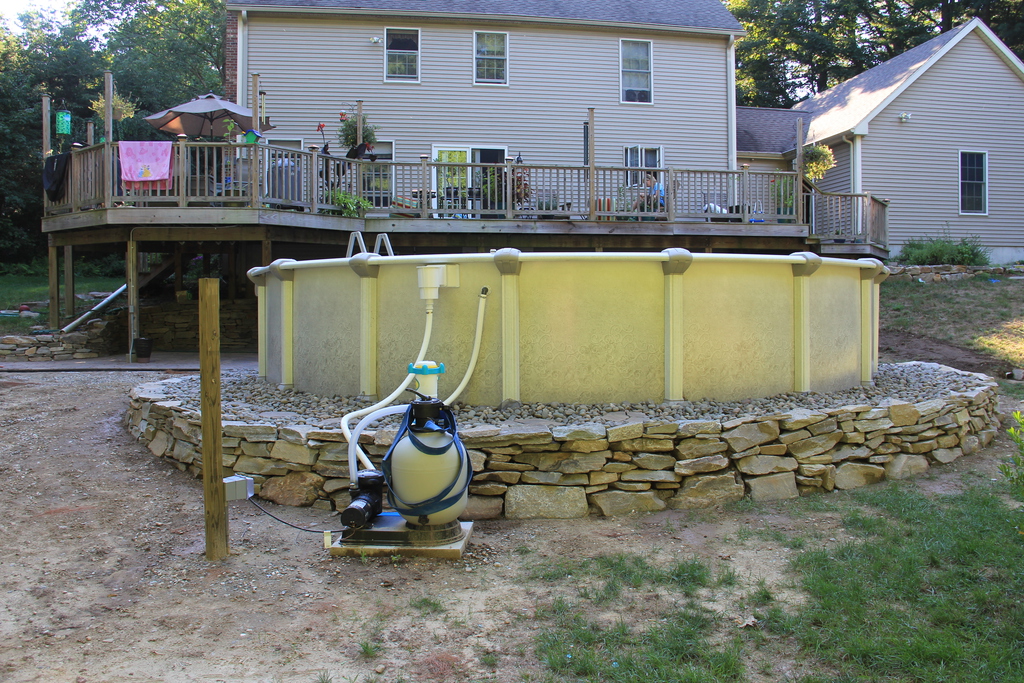
Tough to see much there with the pool dominating the foreground. And yes, I’ve got to get some grass growing again. I did say “basically” done.
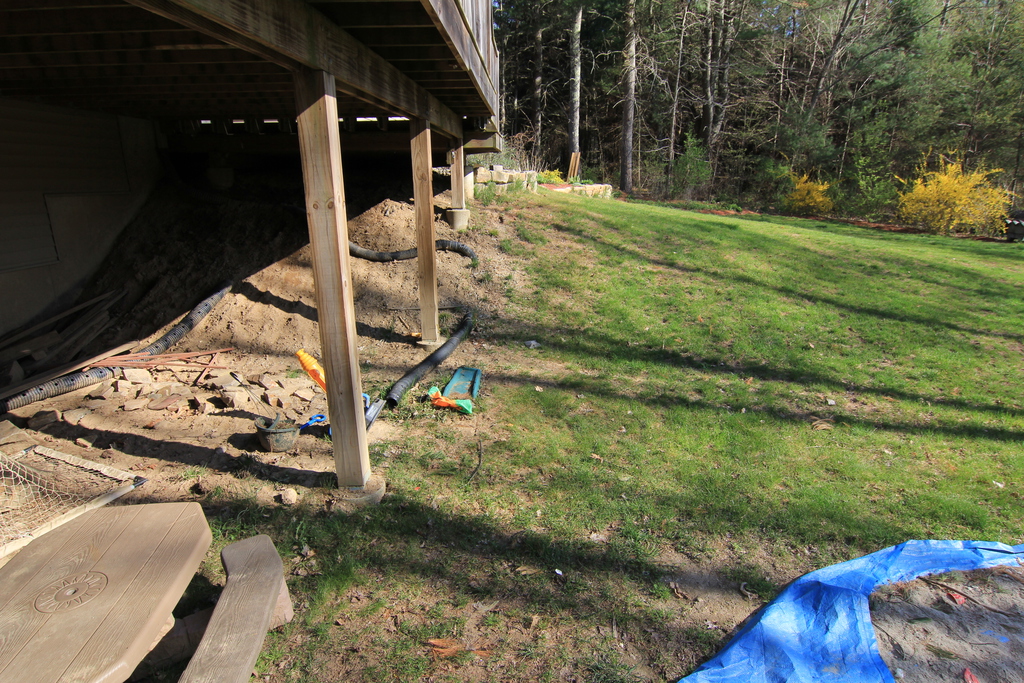
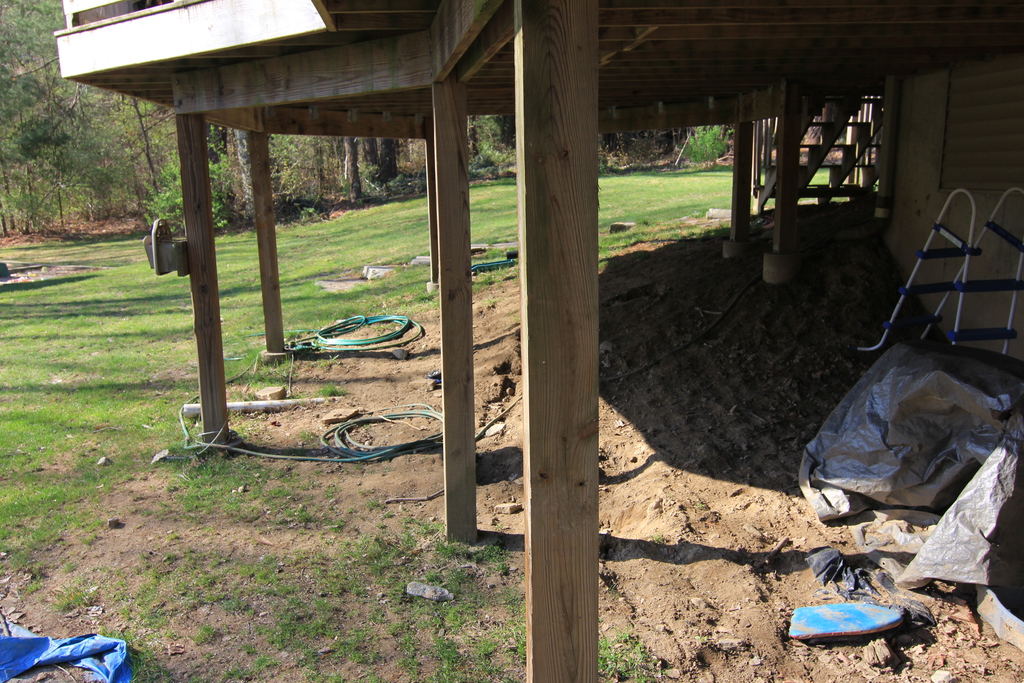
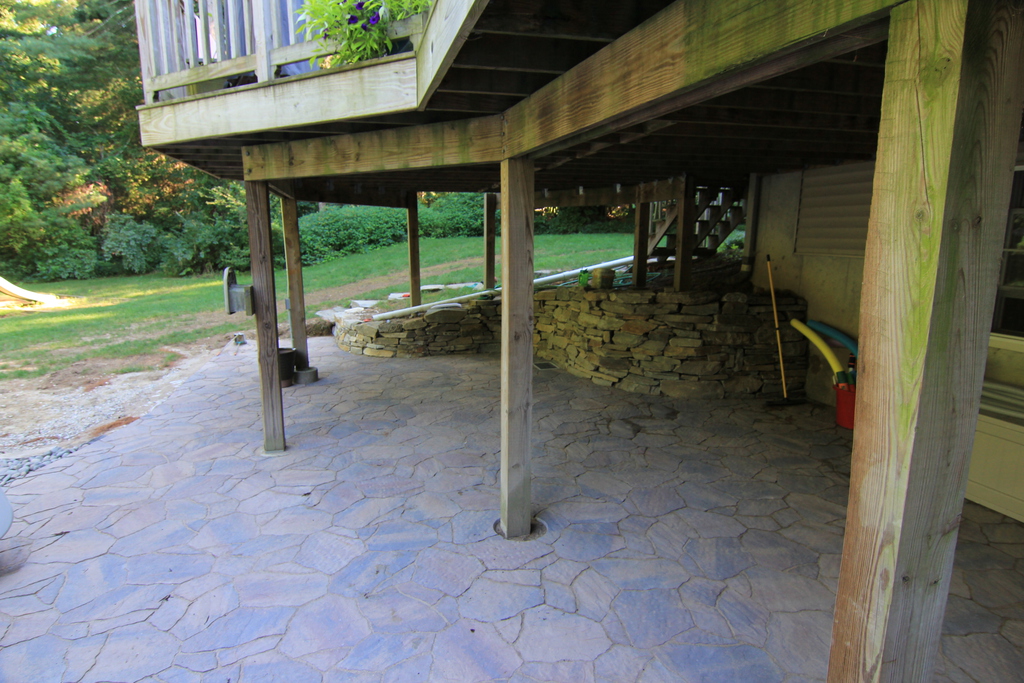
Now, here’s the left side as viewed from under the deck:
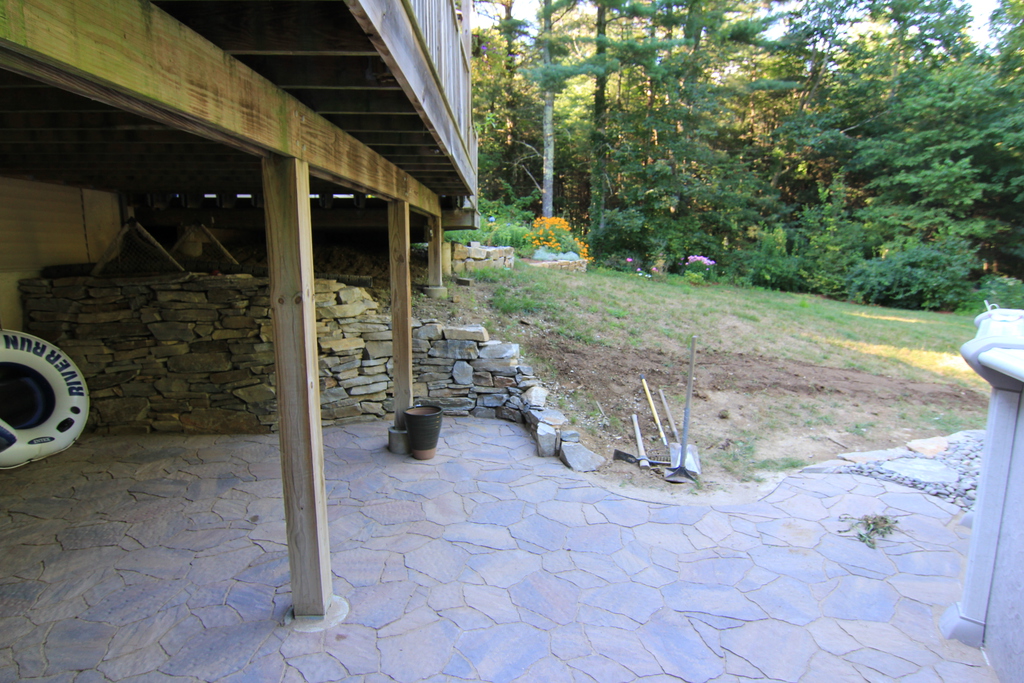
Just a little different. Now the right side:
As I mentioned earlier, the first order of business will be to get some grass growing again around the pool. Next year, I think, we’ll tackle some of the landscaping in the immediate area of the patio.
Here are some statistics about the scope of the project:
- There are 20 tons of wall stone in the 3 retaining walls.
- There are 20 tons of 3/4″ stone used behind the retaining walls and under the patio.
- There are 15 tons of 3/4″ processed gravel (this is a combination of sand and gravel) in the project, about 10 of those are under the patio and the remainder is under the pool.
- I had to move about 30 tons of earth between digging out for the retaining walls and then down to set the patio height. Most of that is under the pool, the rest I spread out in different parts of the property.
- There are about 11 tons of pavers in the patio.
- There are roughly 7 tons of sand, a couple under the pavers and the rest under the pool. There is another quarter ton of polymeric sand filling the paver joints.
- The apron around the pool has about 3 tons of 4″ river rock.
Suffice it to say, it wasn’t a ton of work- it was many tons of work.
One reply on “Before and After”
Sounds like tons of work! You teed it up nicely.